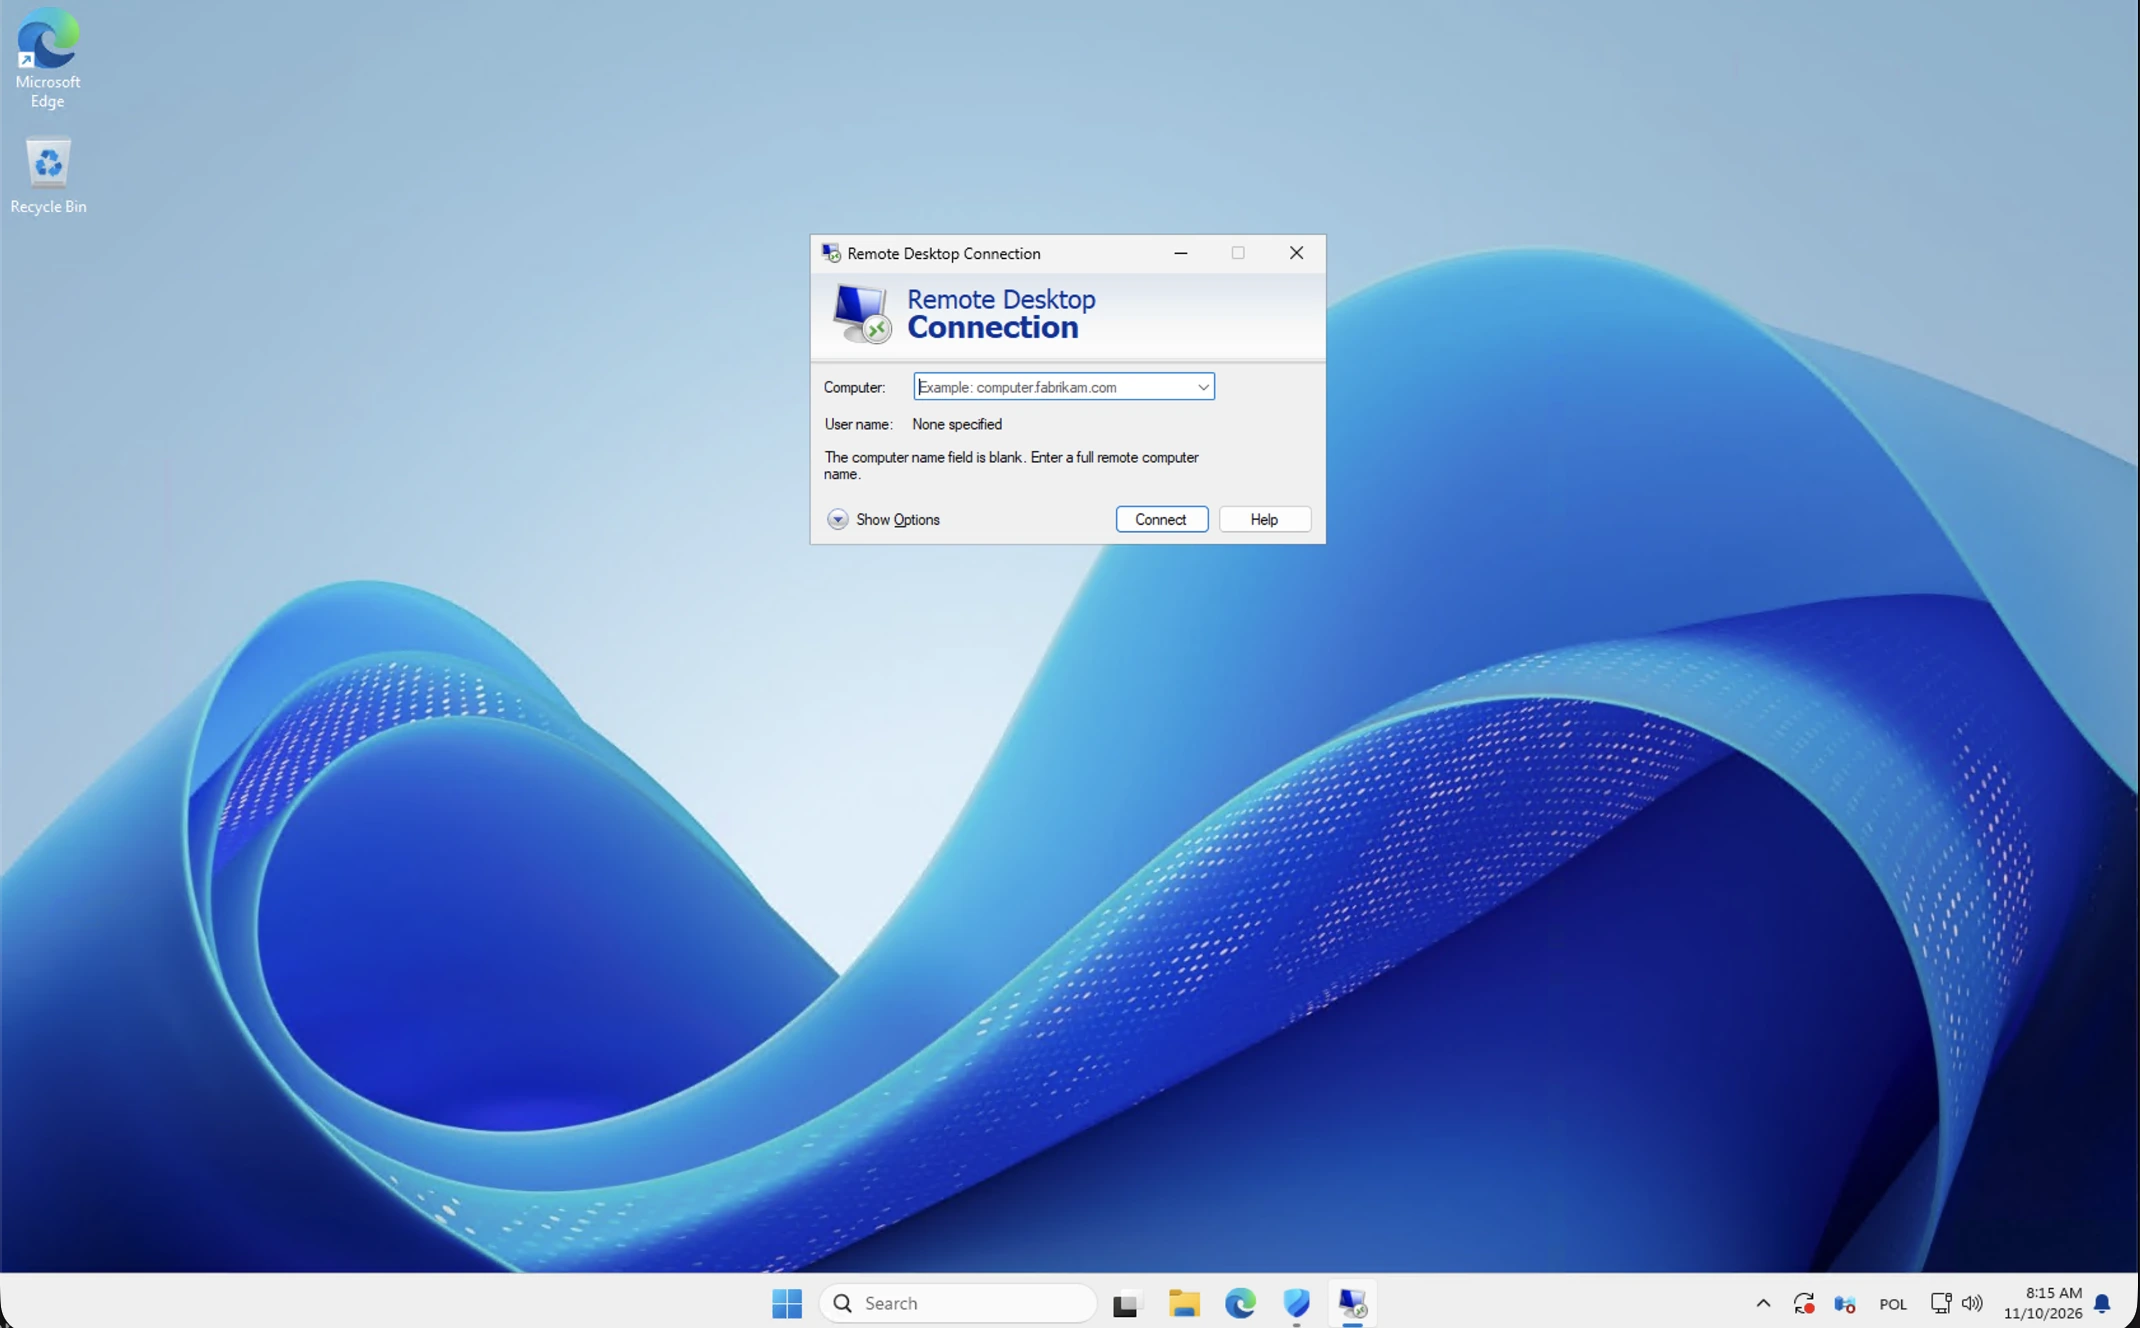
Your Windows VPS opens in a separate window on your own computer, letting you use the prepared Windows environment without installing its business applications locally. For the first connection, the essential items are the destination supplied for your service and the Windows account assigned to you. The pictures below follow the client-side sign-in sequence.
Netcloud24 prepares the managed server, access controls and agreed working environment from A to Z, covering the complete agreed setup. You are not expected to install Remote Desktop Services, publish a server port or adjust Windows Server permissions. Follow the supplied connection arrangement, including a VPN or gateway if your handover specifies one.
Keep the three kinds of sign-in separate
Your customer-area login opens the Netcloud24 service panel. A VPN profile establishes the approved network connection where one is required. Your Windows username and password then open the remote desktop. These are different parts of the connection, and using the panel password in the Windows prompt will not normally work.
Before starting, locate your assigned RDP destination, Windows username and secure password-delivery instructions. Use the details belonging to this particular service. Addresses and account names printed in a screenshot are demonstrations, not a public destination or an account shared by customers.
Use a computer approved for your organisation's work. If another person can unlock it or open a saved connection, storing a Windows password there may give them access to company information. Ask your organisation about password saving rather than selecting Remember me automatically.
Prepare the access route first
If your service includes WireGuard or another supplied VPN connection, activate that connection before opening RDP. Import the profile Netcloud24 provides for your device; do not build a server configuration yourself or change its routing values to match an online example.
For a gateway-based service, use the gateway details in your handover. A direct connection attempt can fail even when the service is healthy because that route was never intended to be available. Keep the approved VPN active while the desktop session is in use.
Open the Windows connection client
From the Windows desktop, open Start and search for Remote Desktop Connection. This is the classic client included with Windows, also called mstsc.exe. You can alternatively press Windows+R, enter mstsc and confirm. You are starting a client on your own computer, not enabling server access.

Check that you selected Remote Desktop Connection rather than an unrelated remote-support product. Menu appearance may vary between Windows releases and display languages, but the destination field and connection process serve the same purpose. At this stage the remote workspace is not yet open.
Use the service's destination exactly
In the Computer field, enter the RDP hostname or address supplied for your service. Include a nonstandard port only if the supplied instructions include one. Avoid adding a web prefix such as https://; this field expects the remote-desktop destination, not a browser address.

Before selecting Connect, inspect any saved settings left by an earlier connection. An old gateway, username or destination can lead to an unexpected server or repeated failures. If you use Show Options to adjust display size or local-resource sharing, enable only the resources your organisation permits.
Clipboard, drive and printer redirection can move information between the local computer and the server. They are convenience features with data-handling consequences. A feature disabled by the managed environment should be raised with support rather than bypassed through another client.
Enter the assigned Windows account
Select Connect and wait for the Windows Security prompt. Check the destination before entering a password. If Windows preselects your local laptop account, choose the available alternative-account option and enter the username exactly as supplied, including its domain or other prefix where present.
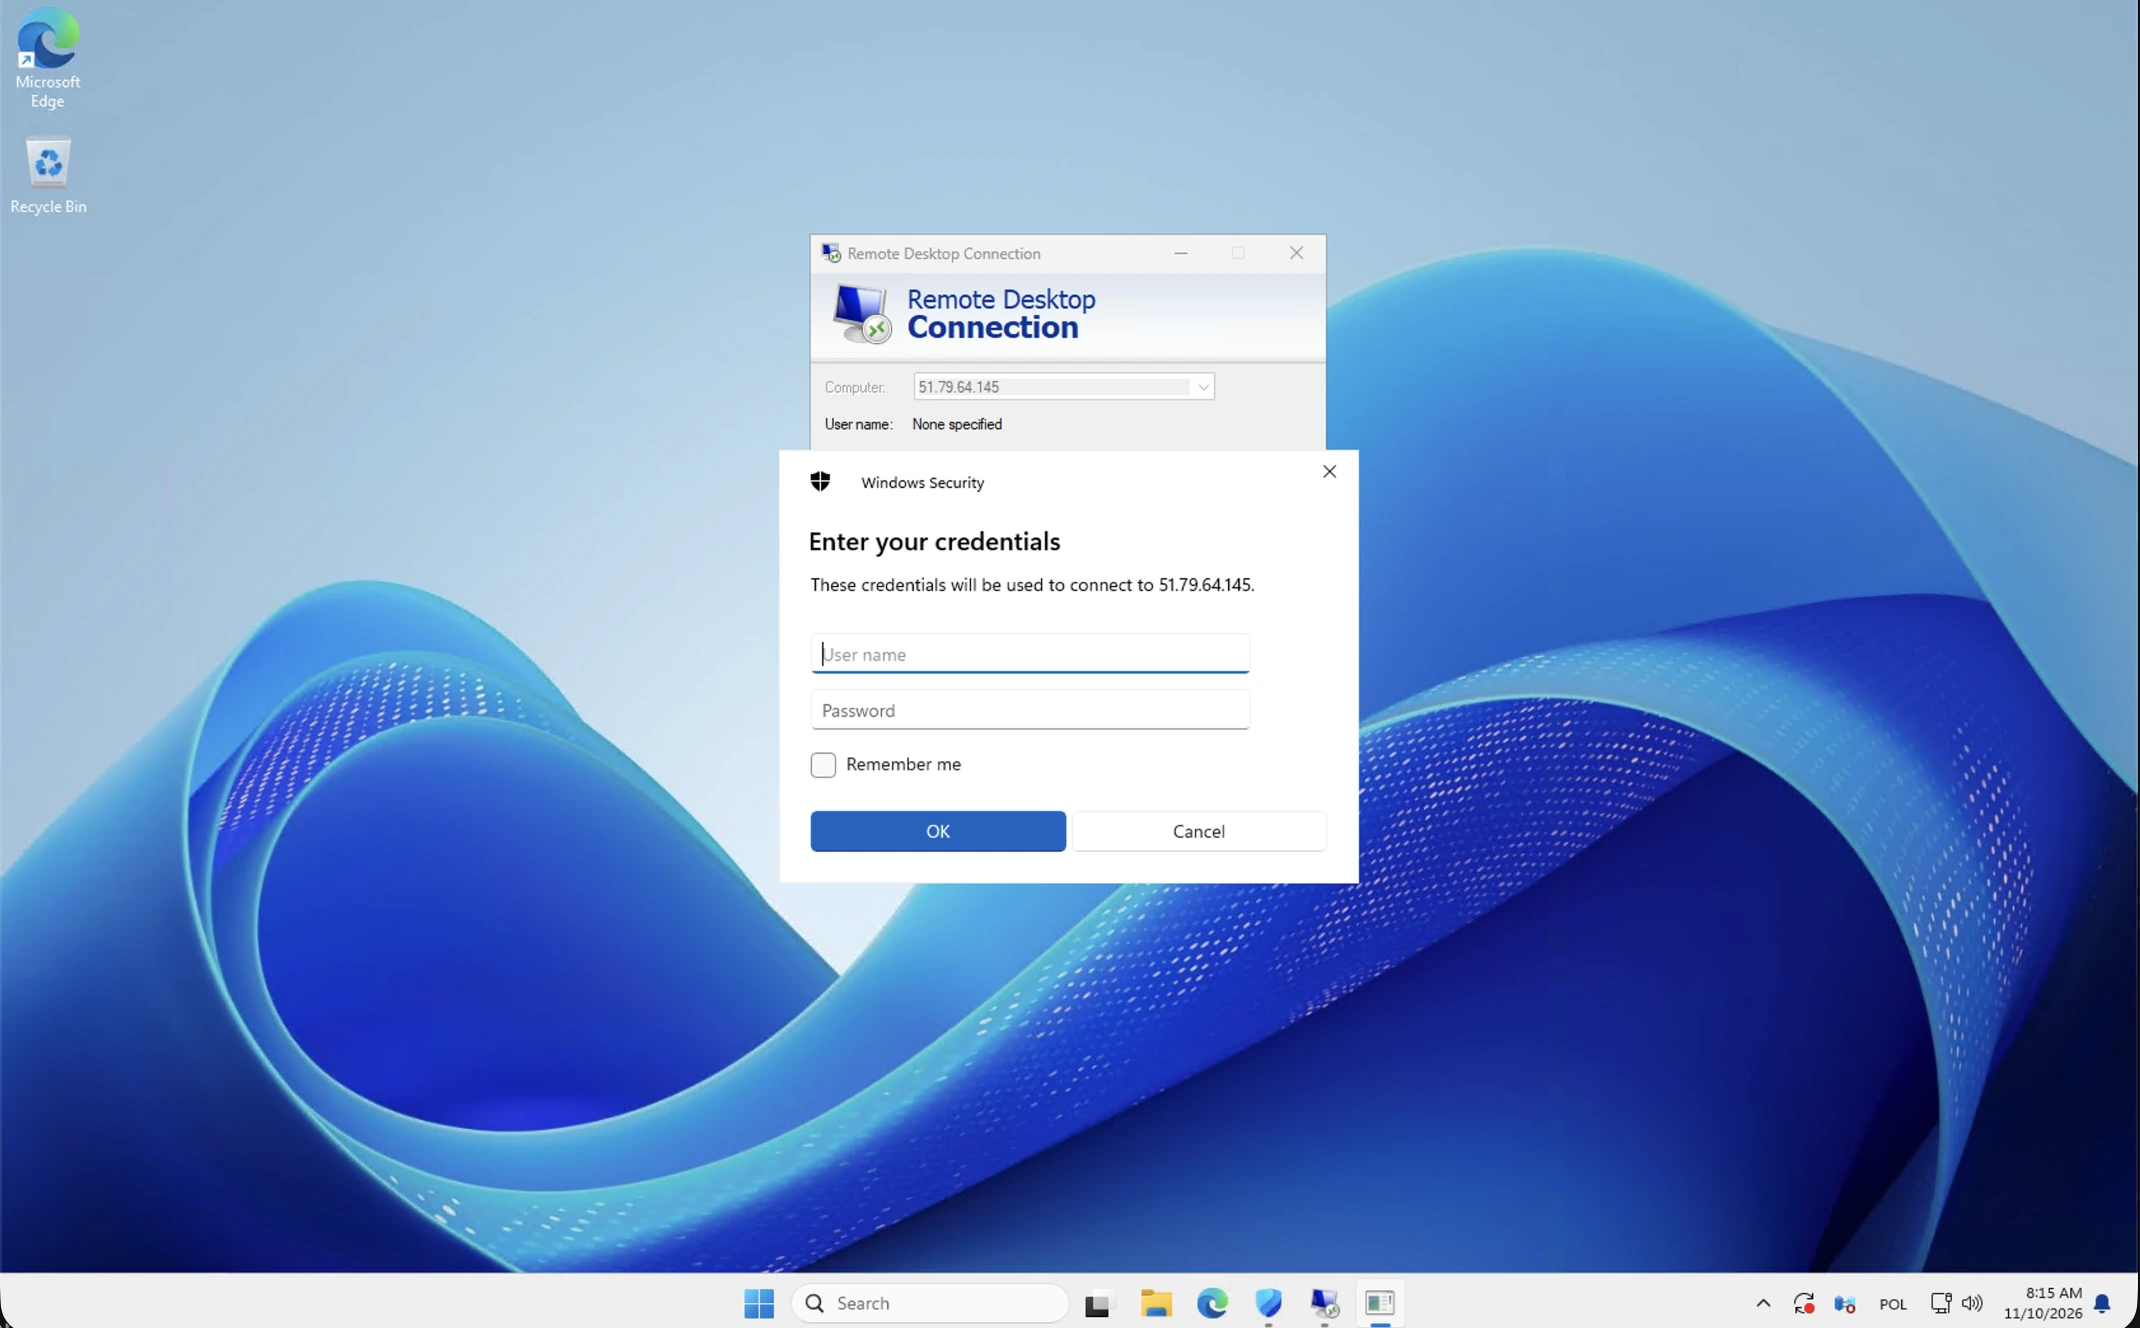
Enter the password through the normal prompt. Avoid pasting it into the Computer field or an ordinary message window. Keyboard layout can matter for punctuation; if a password is rejected, check the local layout and Caps Lock without repeatedly retrying until the account locks.
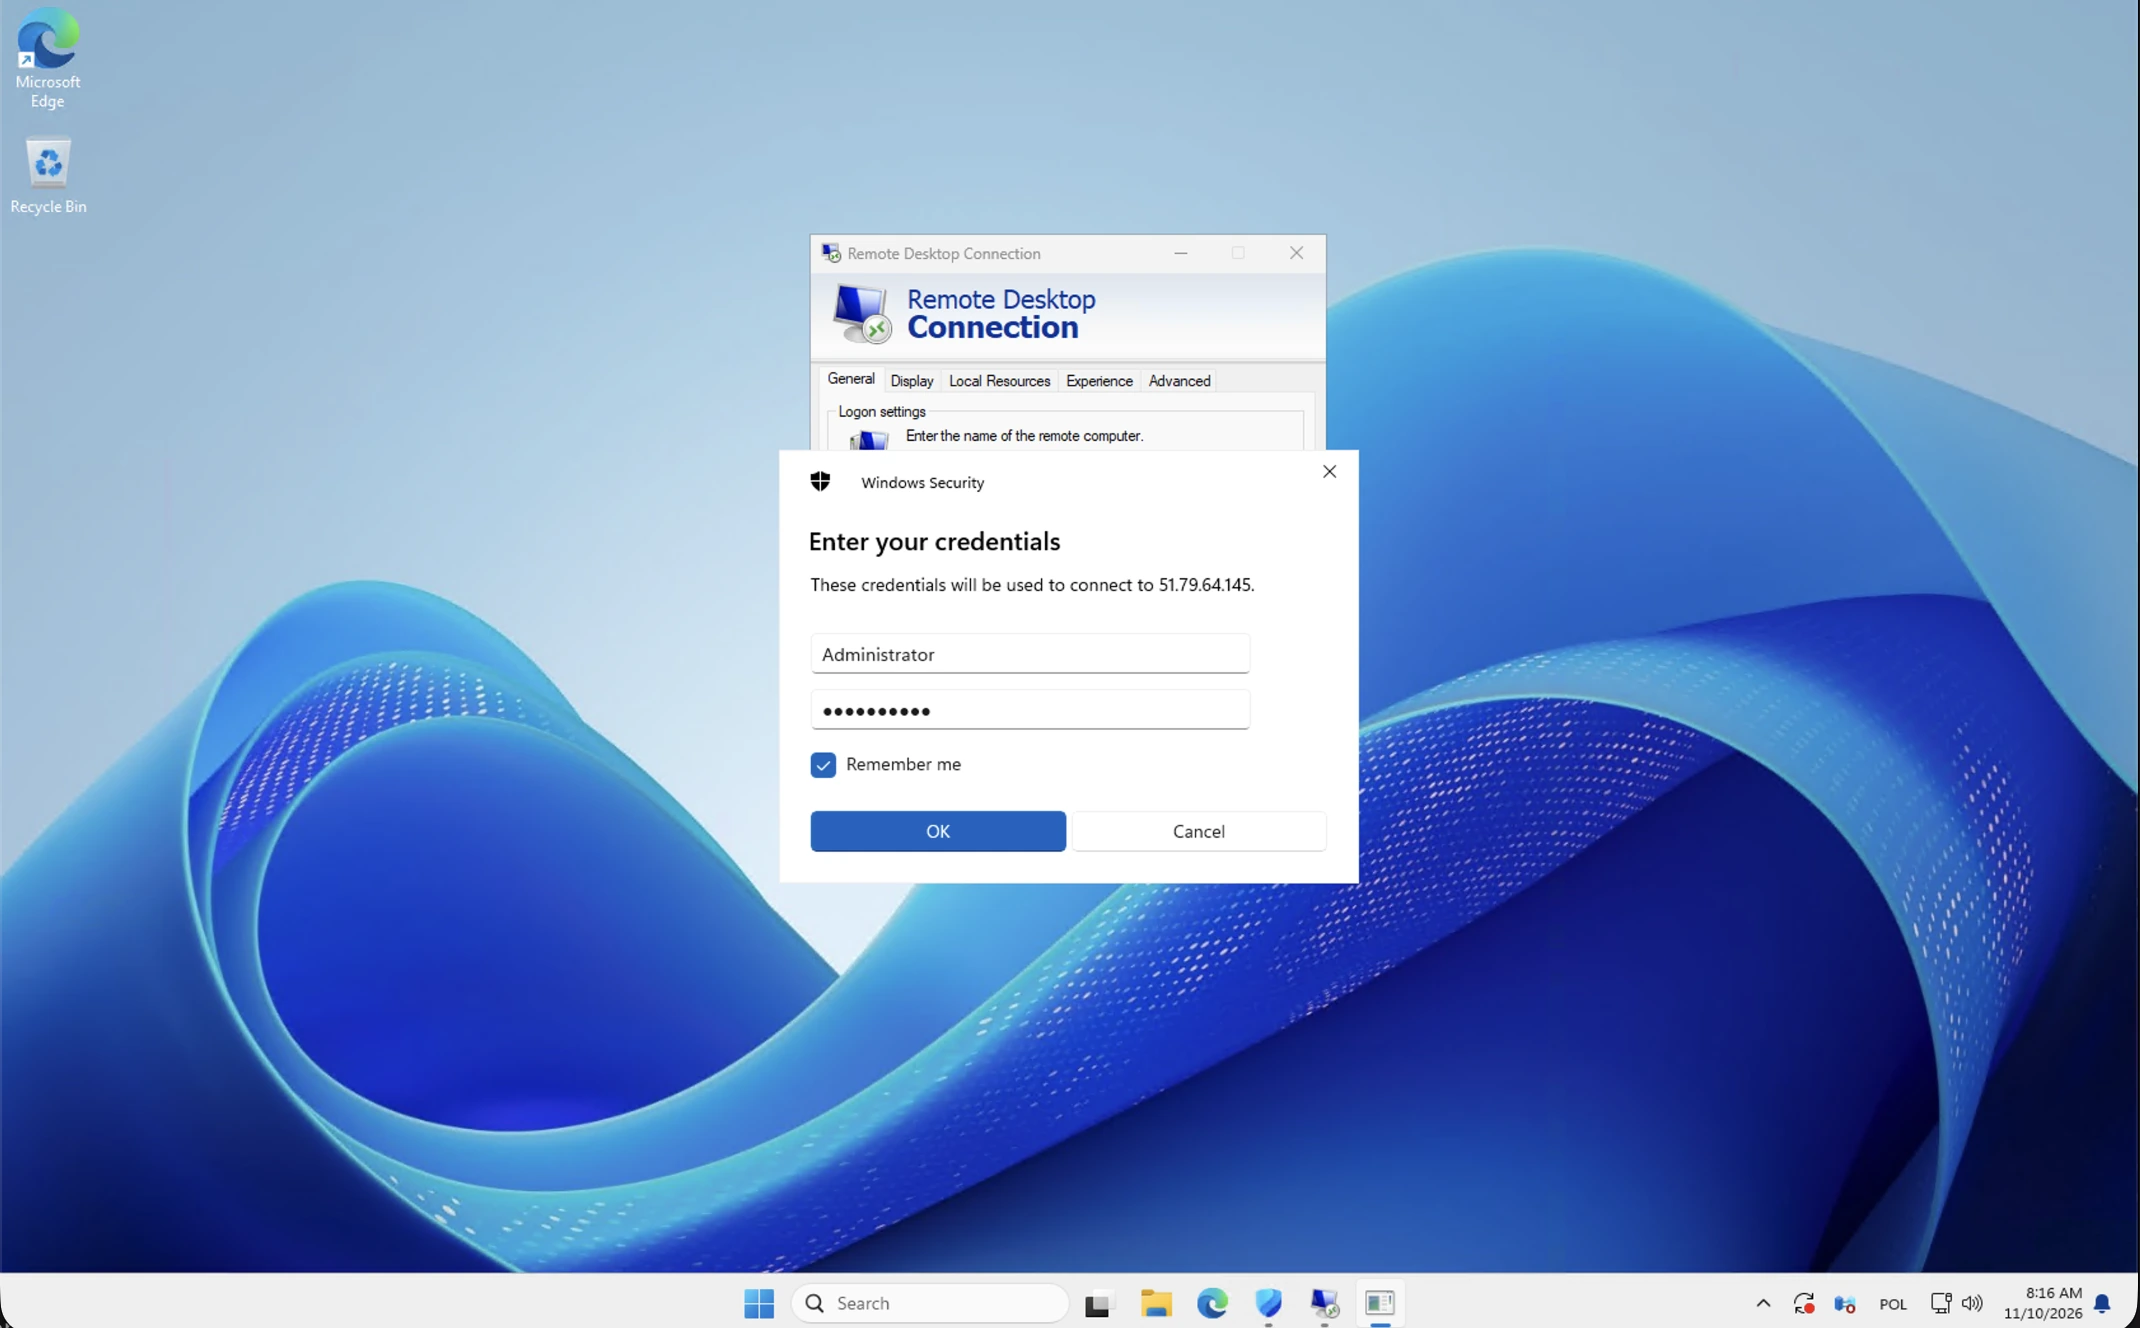
The final picture shows a completed credentials form, not proof of an opened session. Its administrative example account is illustrative: your own account may be an ordinary employee identity, which is appropriate for everyday work. Administrative privileges are not required merely to use a prepared remote workspace.
Check identity warnings before continuing
A certificate warning means the client could not verify some aspect of the remote computer's identity. Do not adopt a blanket rule of accepting every warning. Compare the name and any verification information with the service handover, and ask Netcloud24 if the warning is unexpected or the identity has changed.
Do not turn off certificate checks, change server security settings or try a different public address to make the warning disappear. When a new certificate or planned access change is involved, support can confirm the intended endpoint through the established channel.
Recognise a successful working session
Once the remote desktop appears, distinguish it from your own desktop by its connection bar or window boundary. Check that you are signed in as the intended user and that the agreed application and shared locations are present. Open a harmless known document or the application's normal start screen.
Report missing applications or access denied in a required folder as specific service issues. The fact that Windows opens does not prove every business permission is correct, but neither does a missing shortcut mean the server needs rebuilding.
Finish work and request help effectively
Save your work before ending the session. Closing the client usually disconnects; signing out inside remote Windows ends the user session and closes applications. The managed timeout policy determines how long disconnected work remains available, so do not depend on it as permanent storage.
If connection fails, send support the stage reached, exact error, approximate time and whether the supplied VPN is active. Hide passwords, private keys and confidential content in screenshots. For VPN-specific instructions, use the Windows WireGuard walkthrough; Mac users can follow the Mac connection guide. Microsoft's Remote Desktop Connection reference describes the Windows client itself.
Keep your personal connection details confidential throughout these checks.
 Remote Desktop access to a hosted Windows server: a user’s guide
Connect from Windows or macOS to the environment prepared for your team. Understand account details, VPN and gateway requirements,…
 From order to handover: what a Managed Windows VPS includes
Understand how Netcloud24 prepares a Managed Windows environment, what deployment information is needed and how licensing, application…
 Which Windows Server release should host your business software?
Choose Windows Server around the complete business application, support horizon and tested workflow. Understand the release options,…
 NetCloud24 Free Hosting: 5 GB, DirectAdmin, SSH & Node.js
NetCloud24 H1 gives you 5 GB of free web hosting storage, your own domain, DirectAdmin, SSH access and Node.js. There are no compulsory…