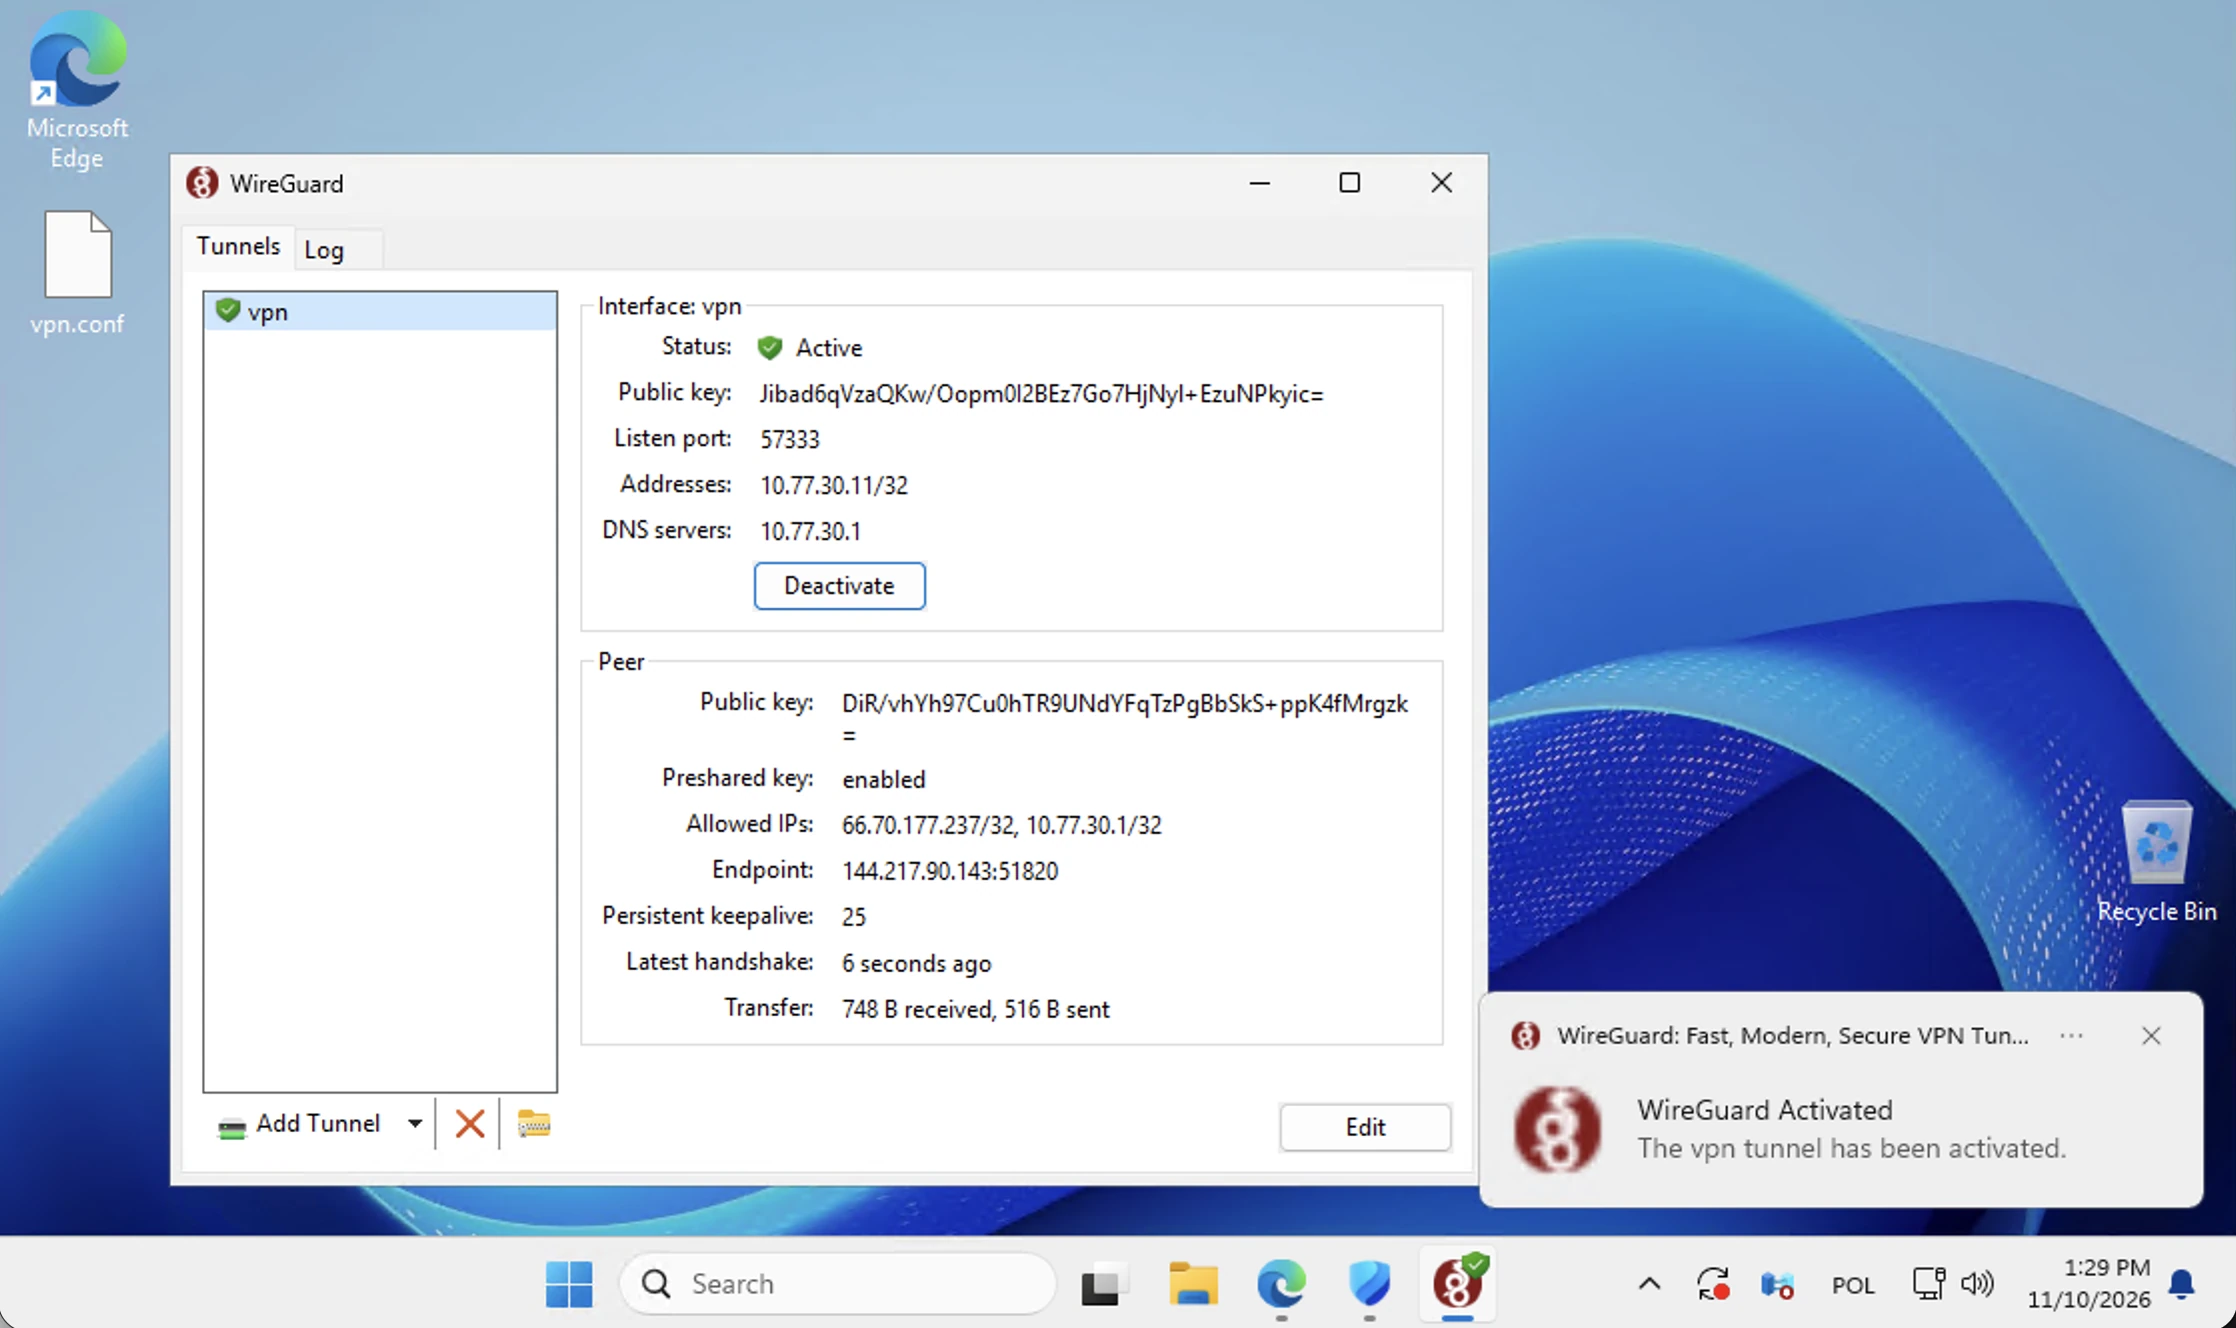
For a VPN-protected Windows workspace, make the network connection before attempting the remote desktop. WireGuard provides that private route; Remote Desktop then presents the Windows session. Installing one application does not replace the other, and neither requires you to configure the managed server yourself.
Netcloud24 supplies the prepared access profile and Windows sign-in details after setting up the agreed environment. This walkthrough covers the tasks on your own Windows PC: obtain the correct profile, import it into the official client, activate the connection and sign in to the supplied RDP destination.
Collect the details belonging to this device
Sign in to the customer area and open the relevant VPS service. Locate VPN access, expand Download your VPN profiles and select the WireGuard download for this computer. If OpenVPN downloads are also offered, they are for a different client format.
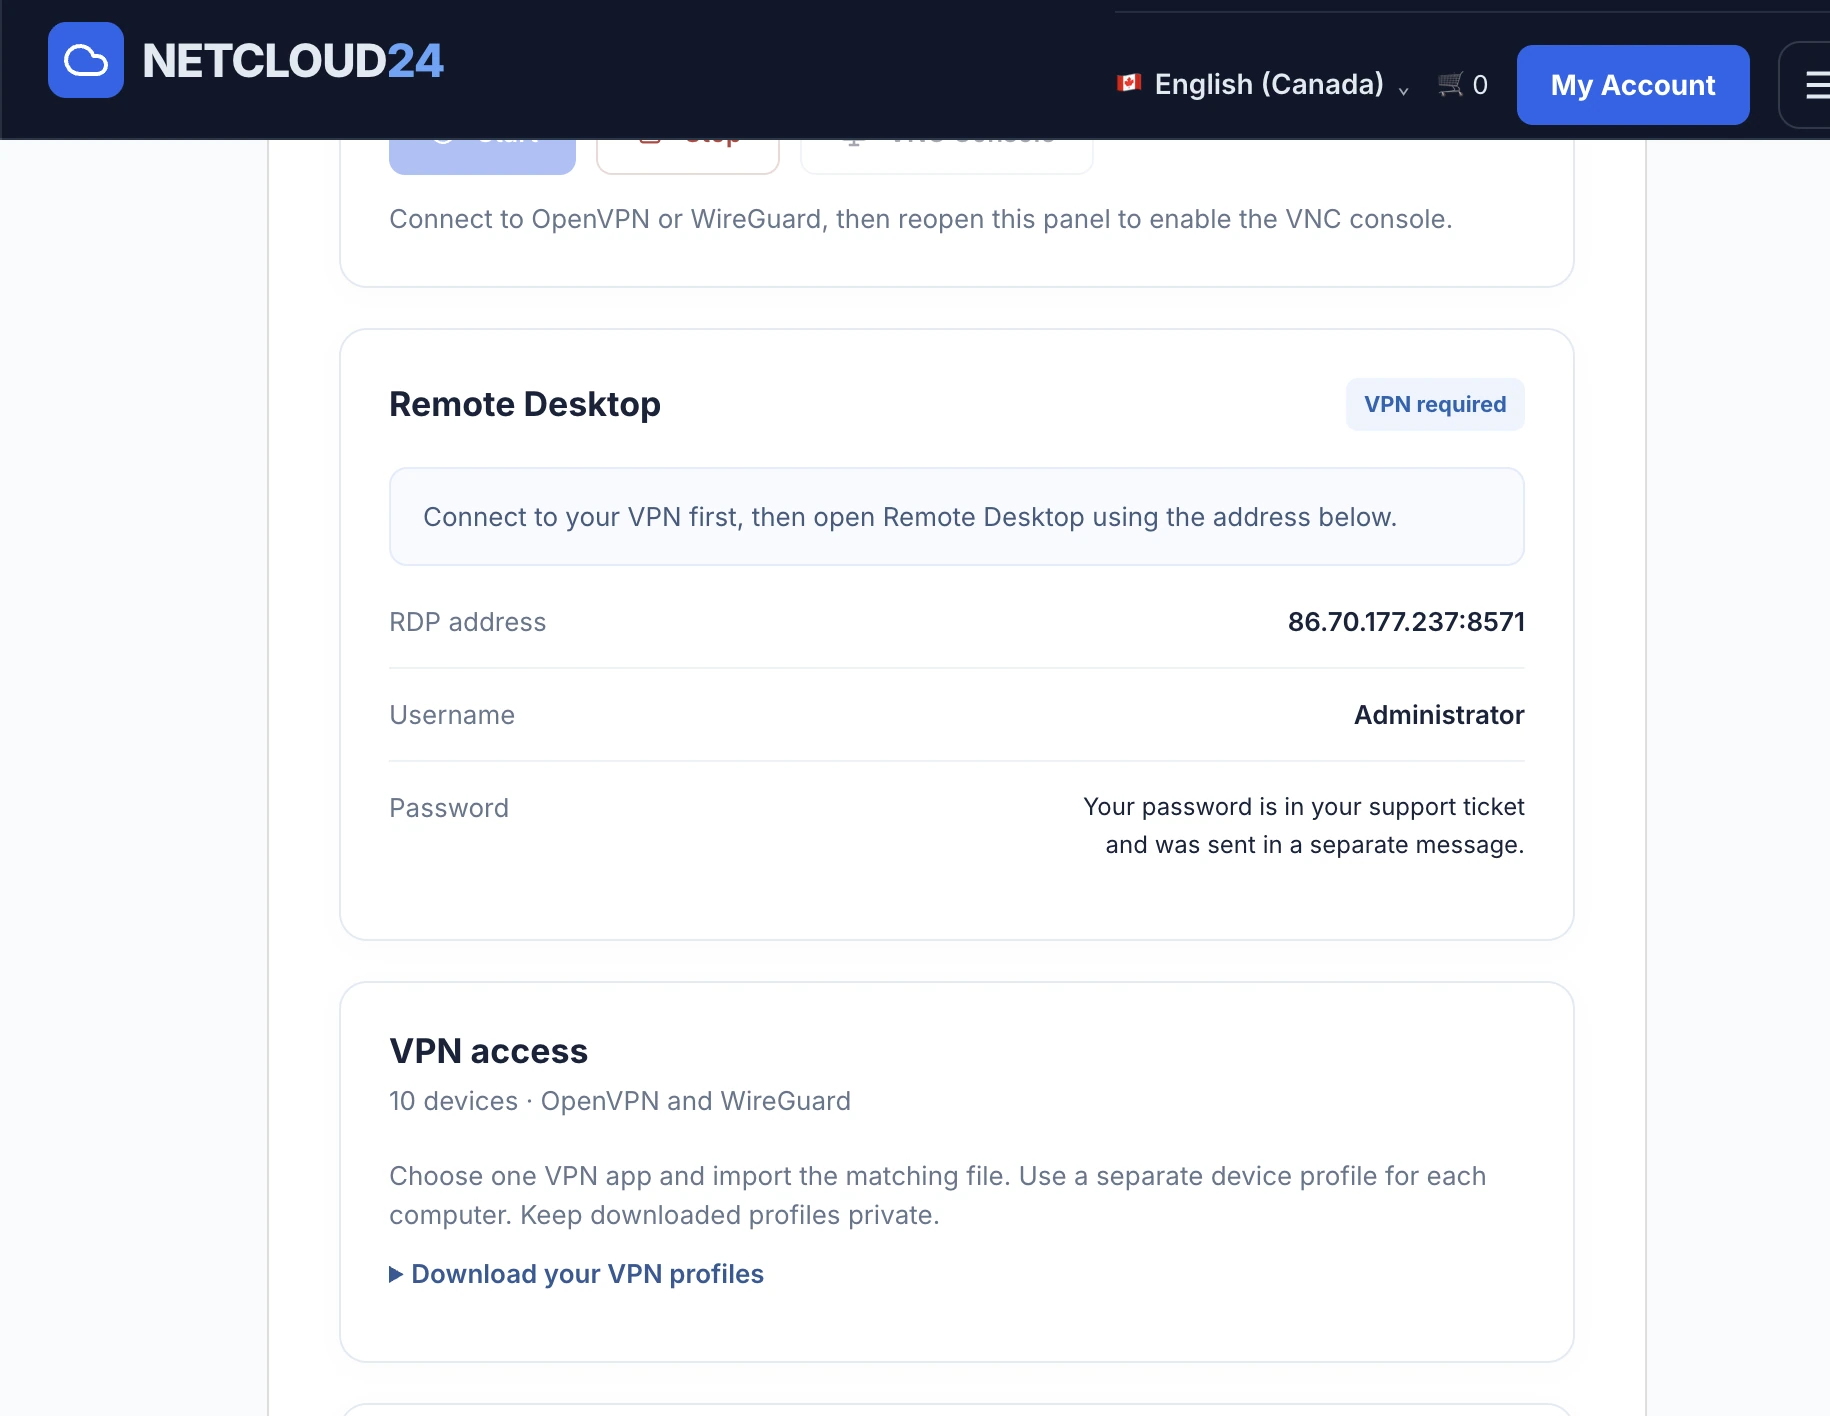
Keep the RDP address and Windows username available for the later stage. Do not confuse them with the VPN endpoint inside the configuration file. The screenshots contain example service values; always use your own panel and handover.
The profile can contain private authentication material. Treat it like a credential, avoid sending it through ordinary chat and use a separate supplied device profile where instructed. If a laptop is lost or its file is disclosed, ask support to revoke or replace the relevant access promptly.
Install the official WireGuard client
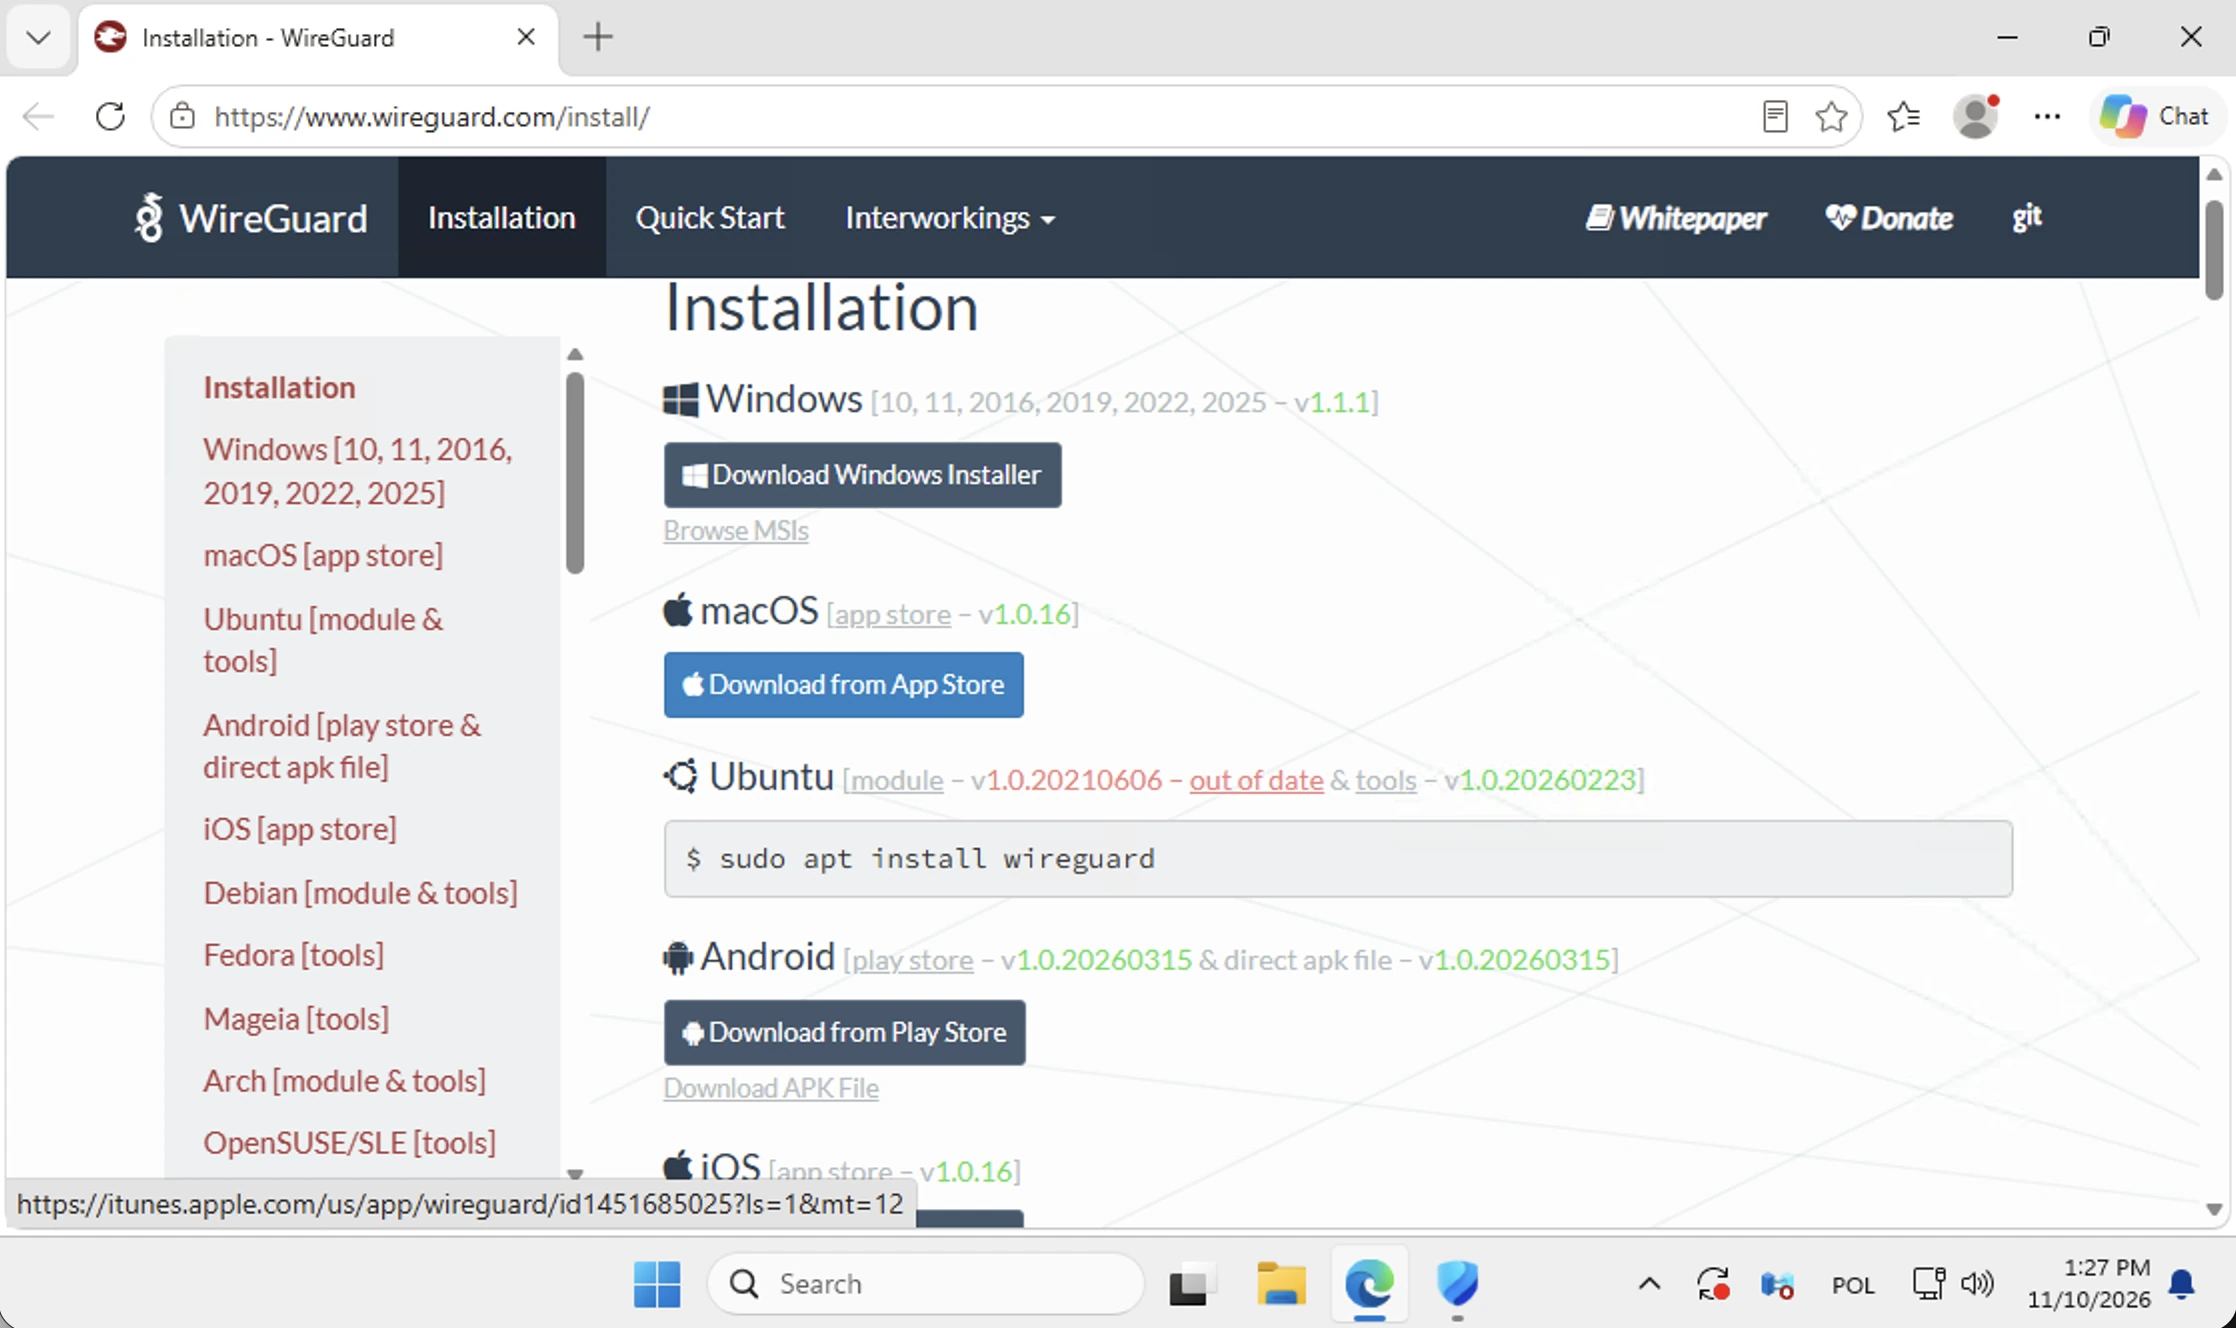
Open WireGuard's official installation page and choose the Windows installer. If your organisation centrally manages software, follow its installation process instead of working around device restrictions.
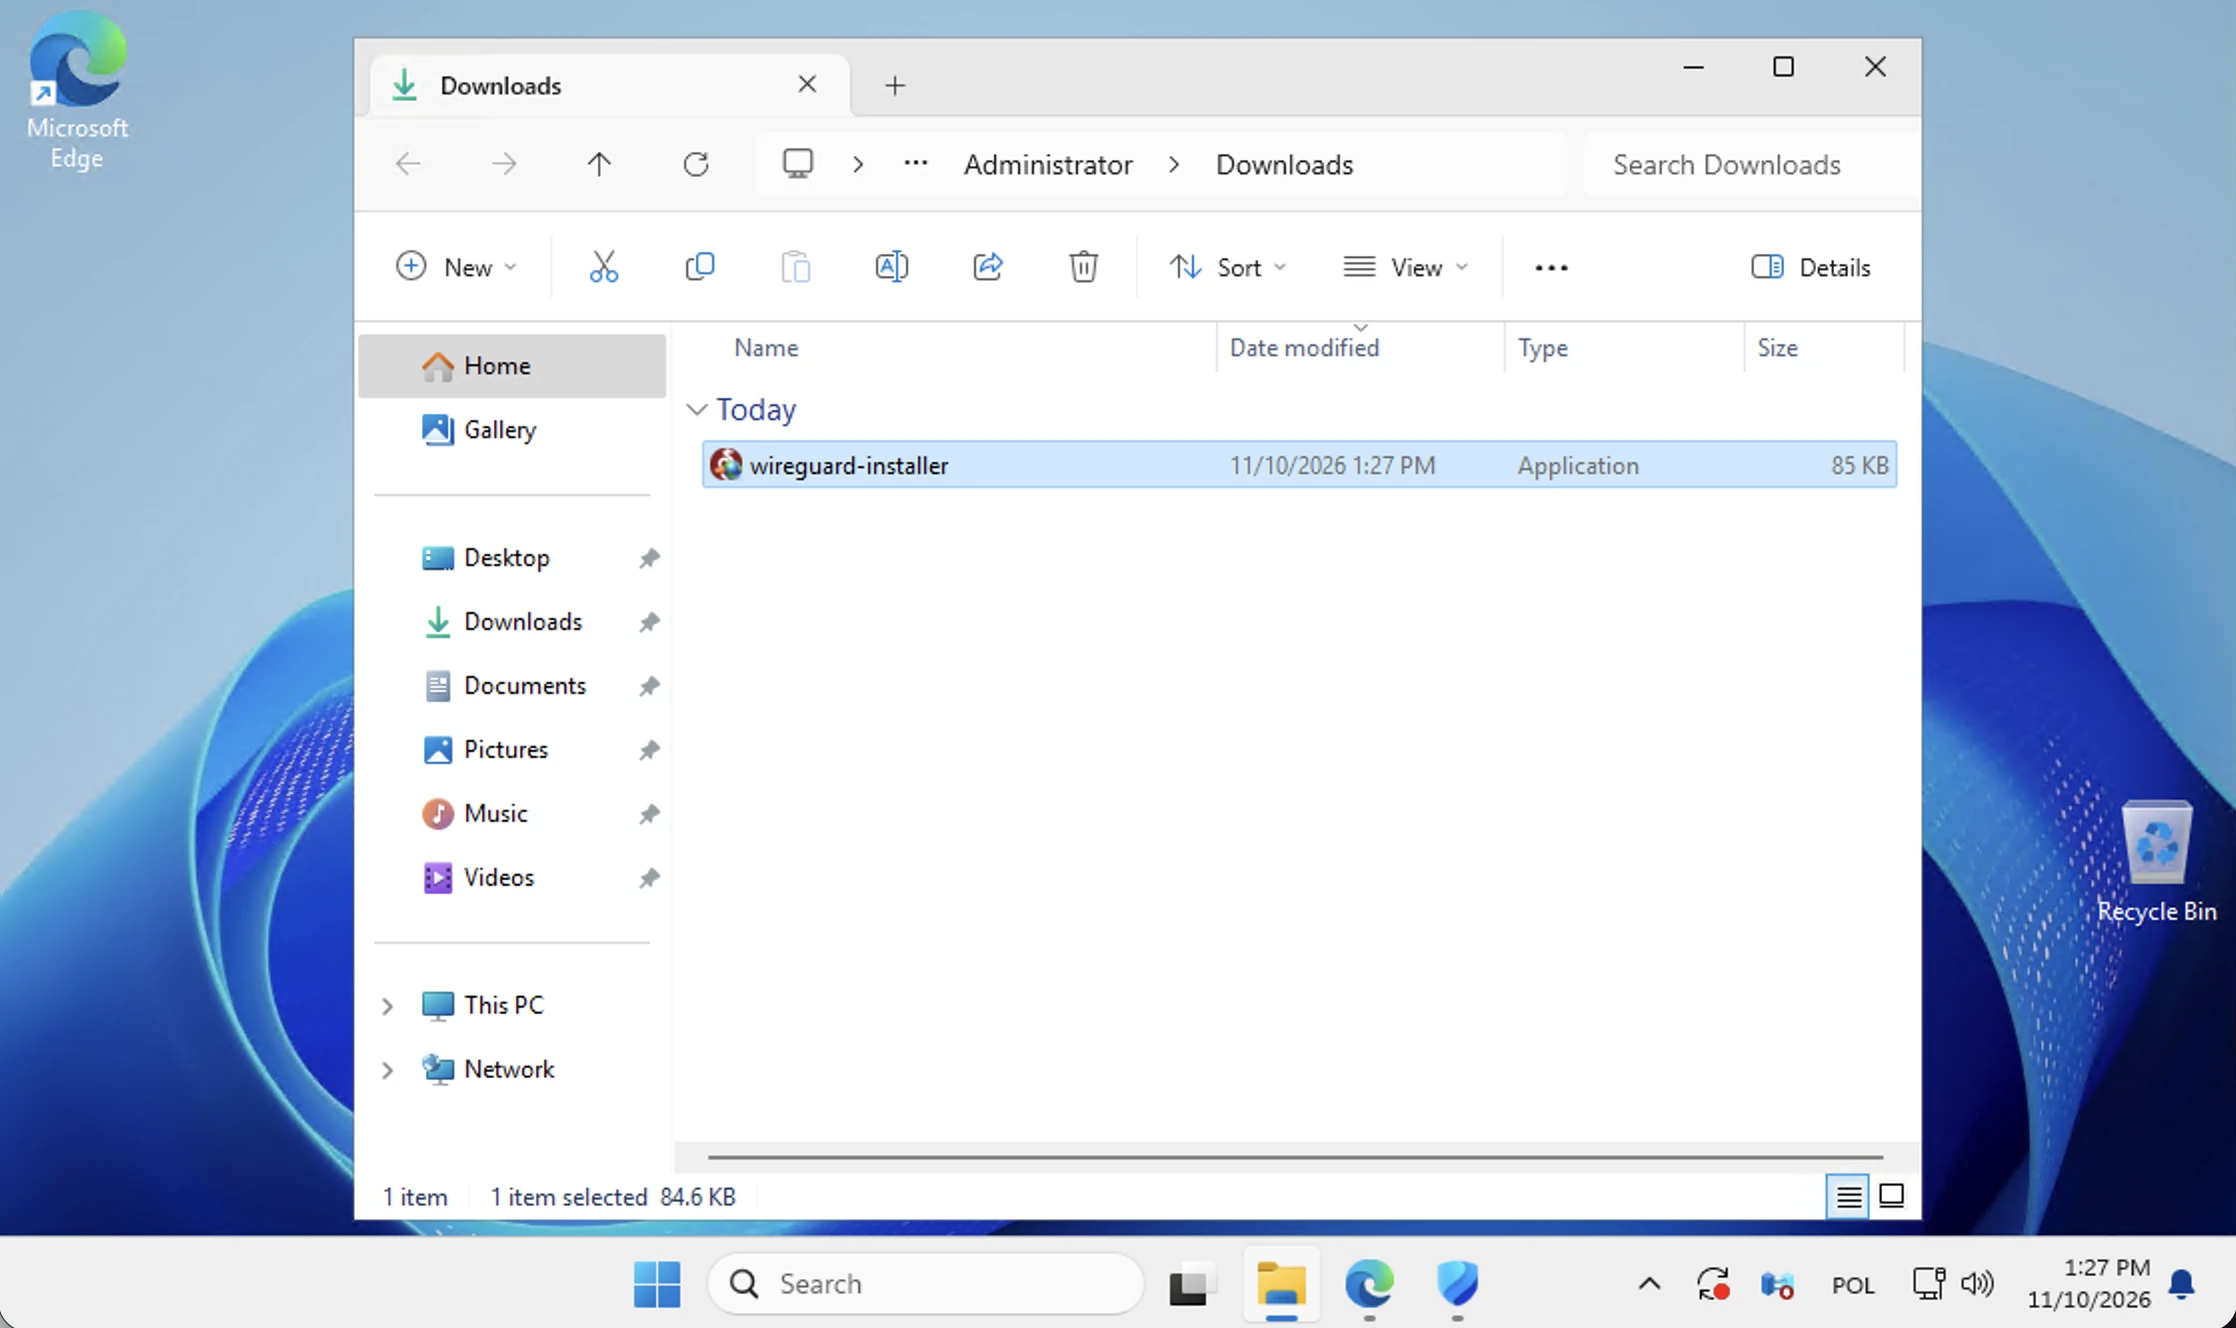
Open the downloaded installer and check that it comes from the expected source. Follow Windows' normal installation prompts with authorised local permission. Installing WireGuard on your PC does not grant access until the correct Netcloud24 profile is imported.
Import rather than recreate the tunnel
Open WireGuard and select Import tunnels from file. Choose the supplied WireGuard configuration. If the browser saved it in Downloads, check the filename and service context before selecting it, especially if several profiles have accumulated there.
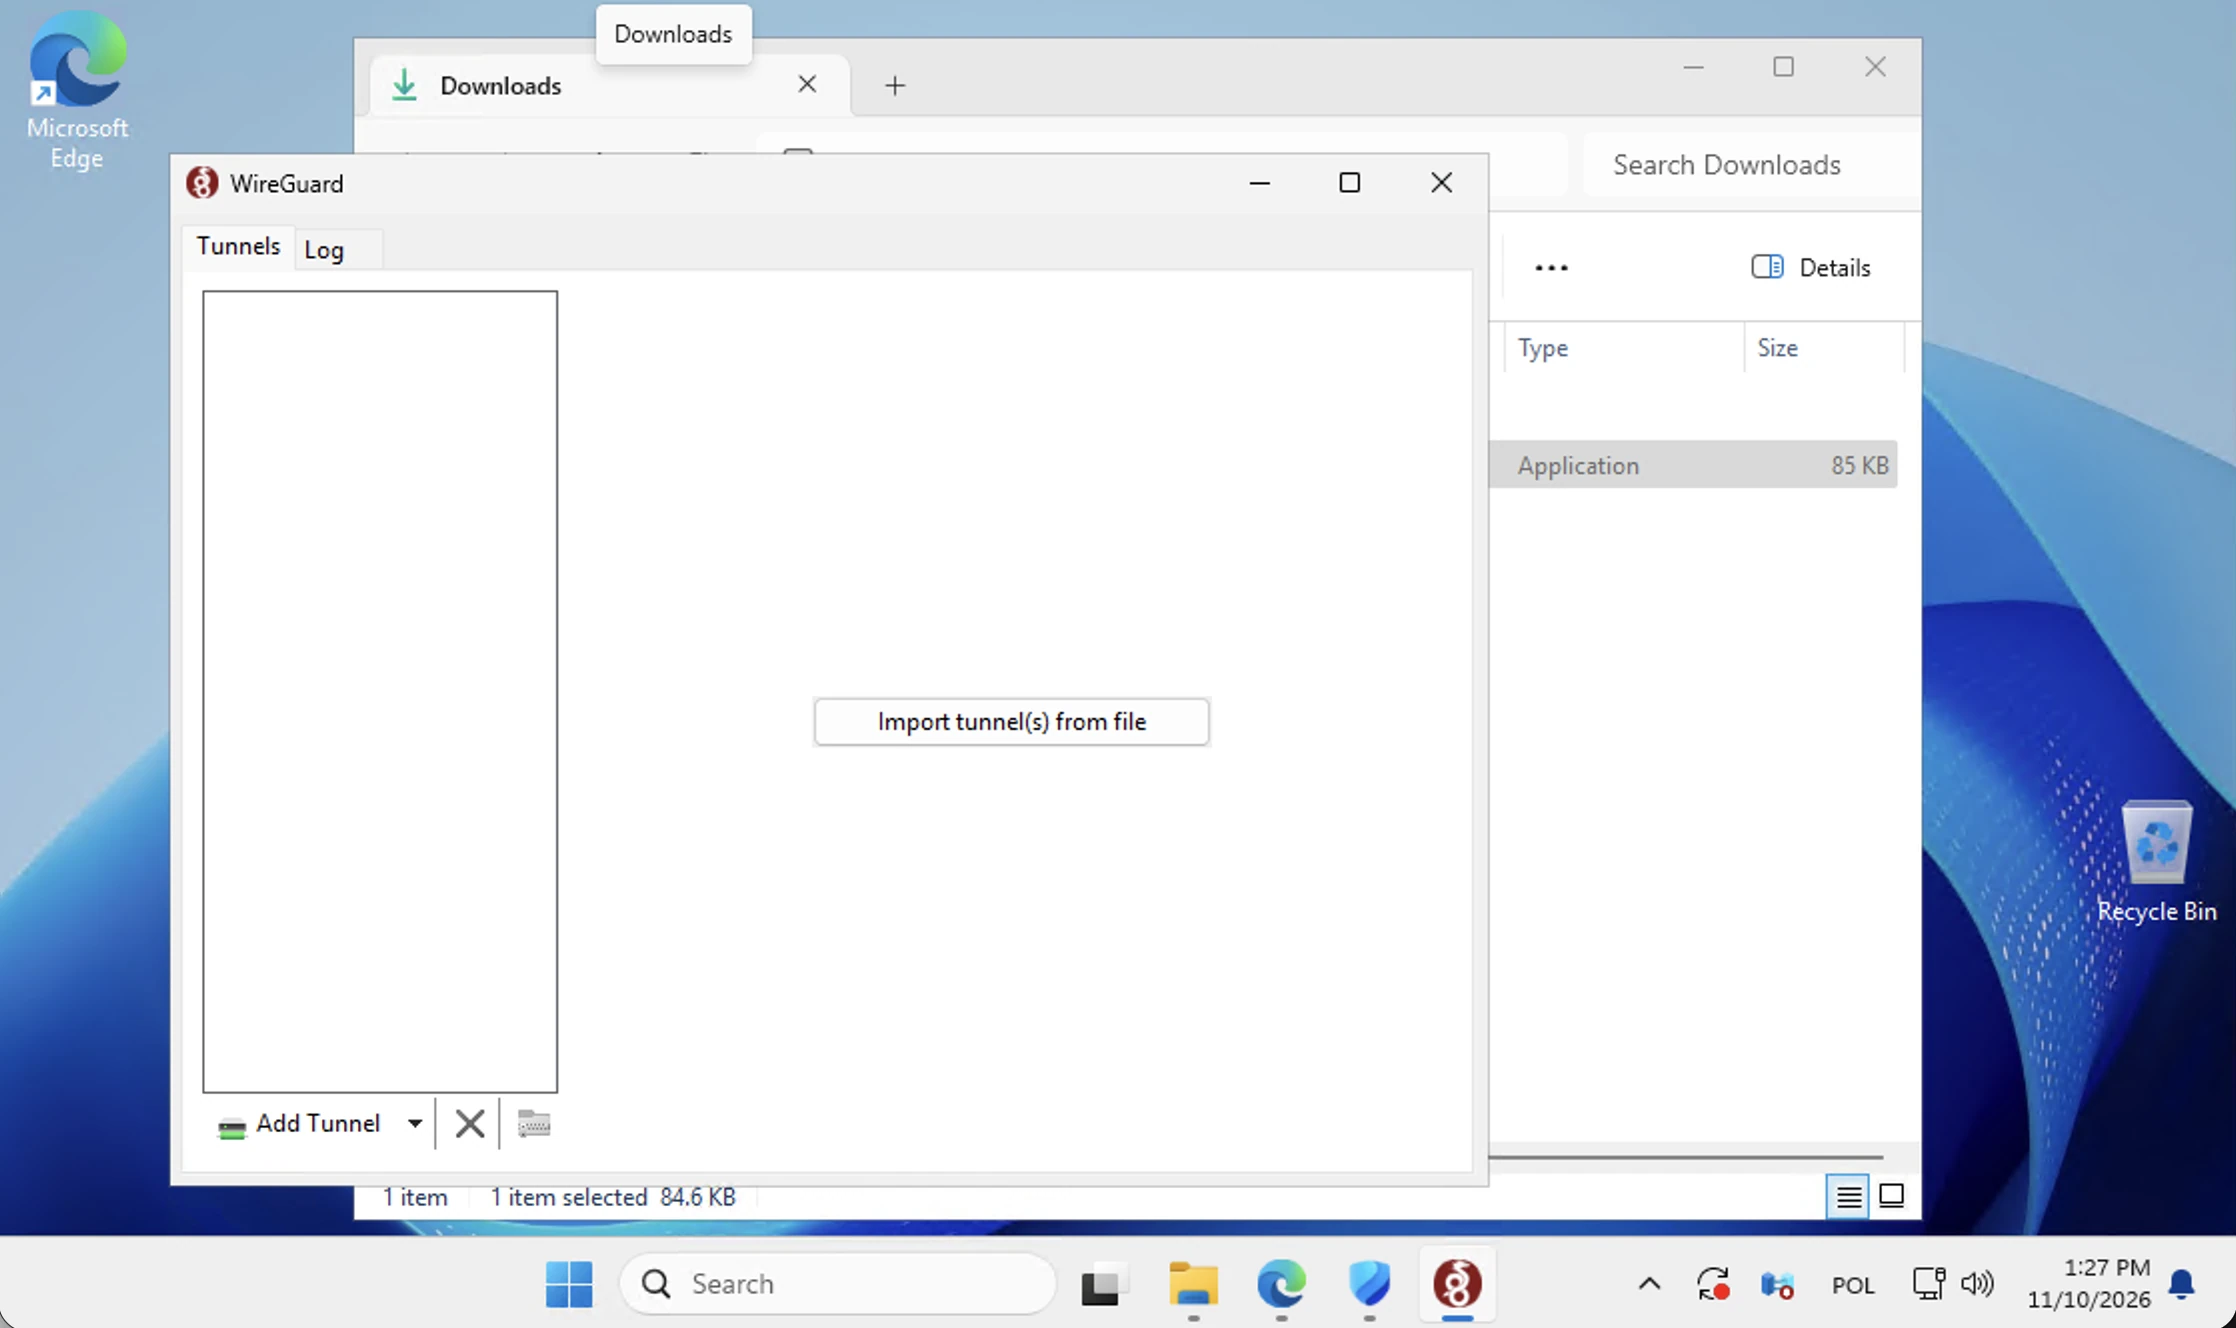
A successfully imported profile appears in the tunnel list. It may initially show Inactive, which simply means it has not yet been started. Do not replace keys, endpoint addresses or Allowed IPs with values copied from this guide; Netcloud24 has already prepared those settings for the service.
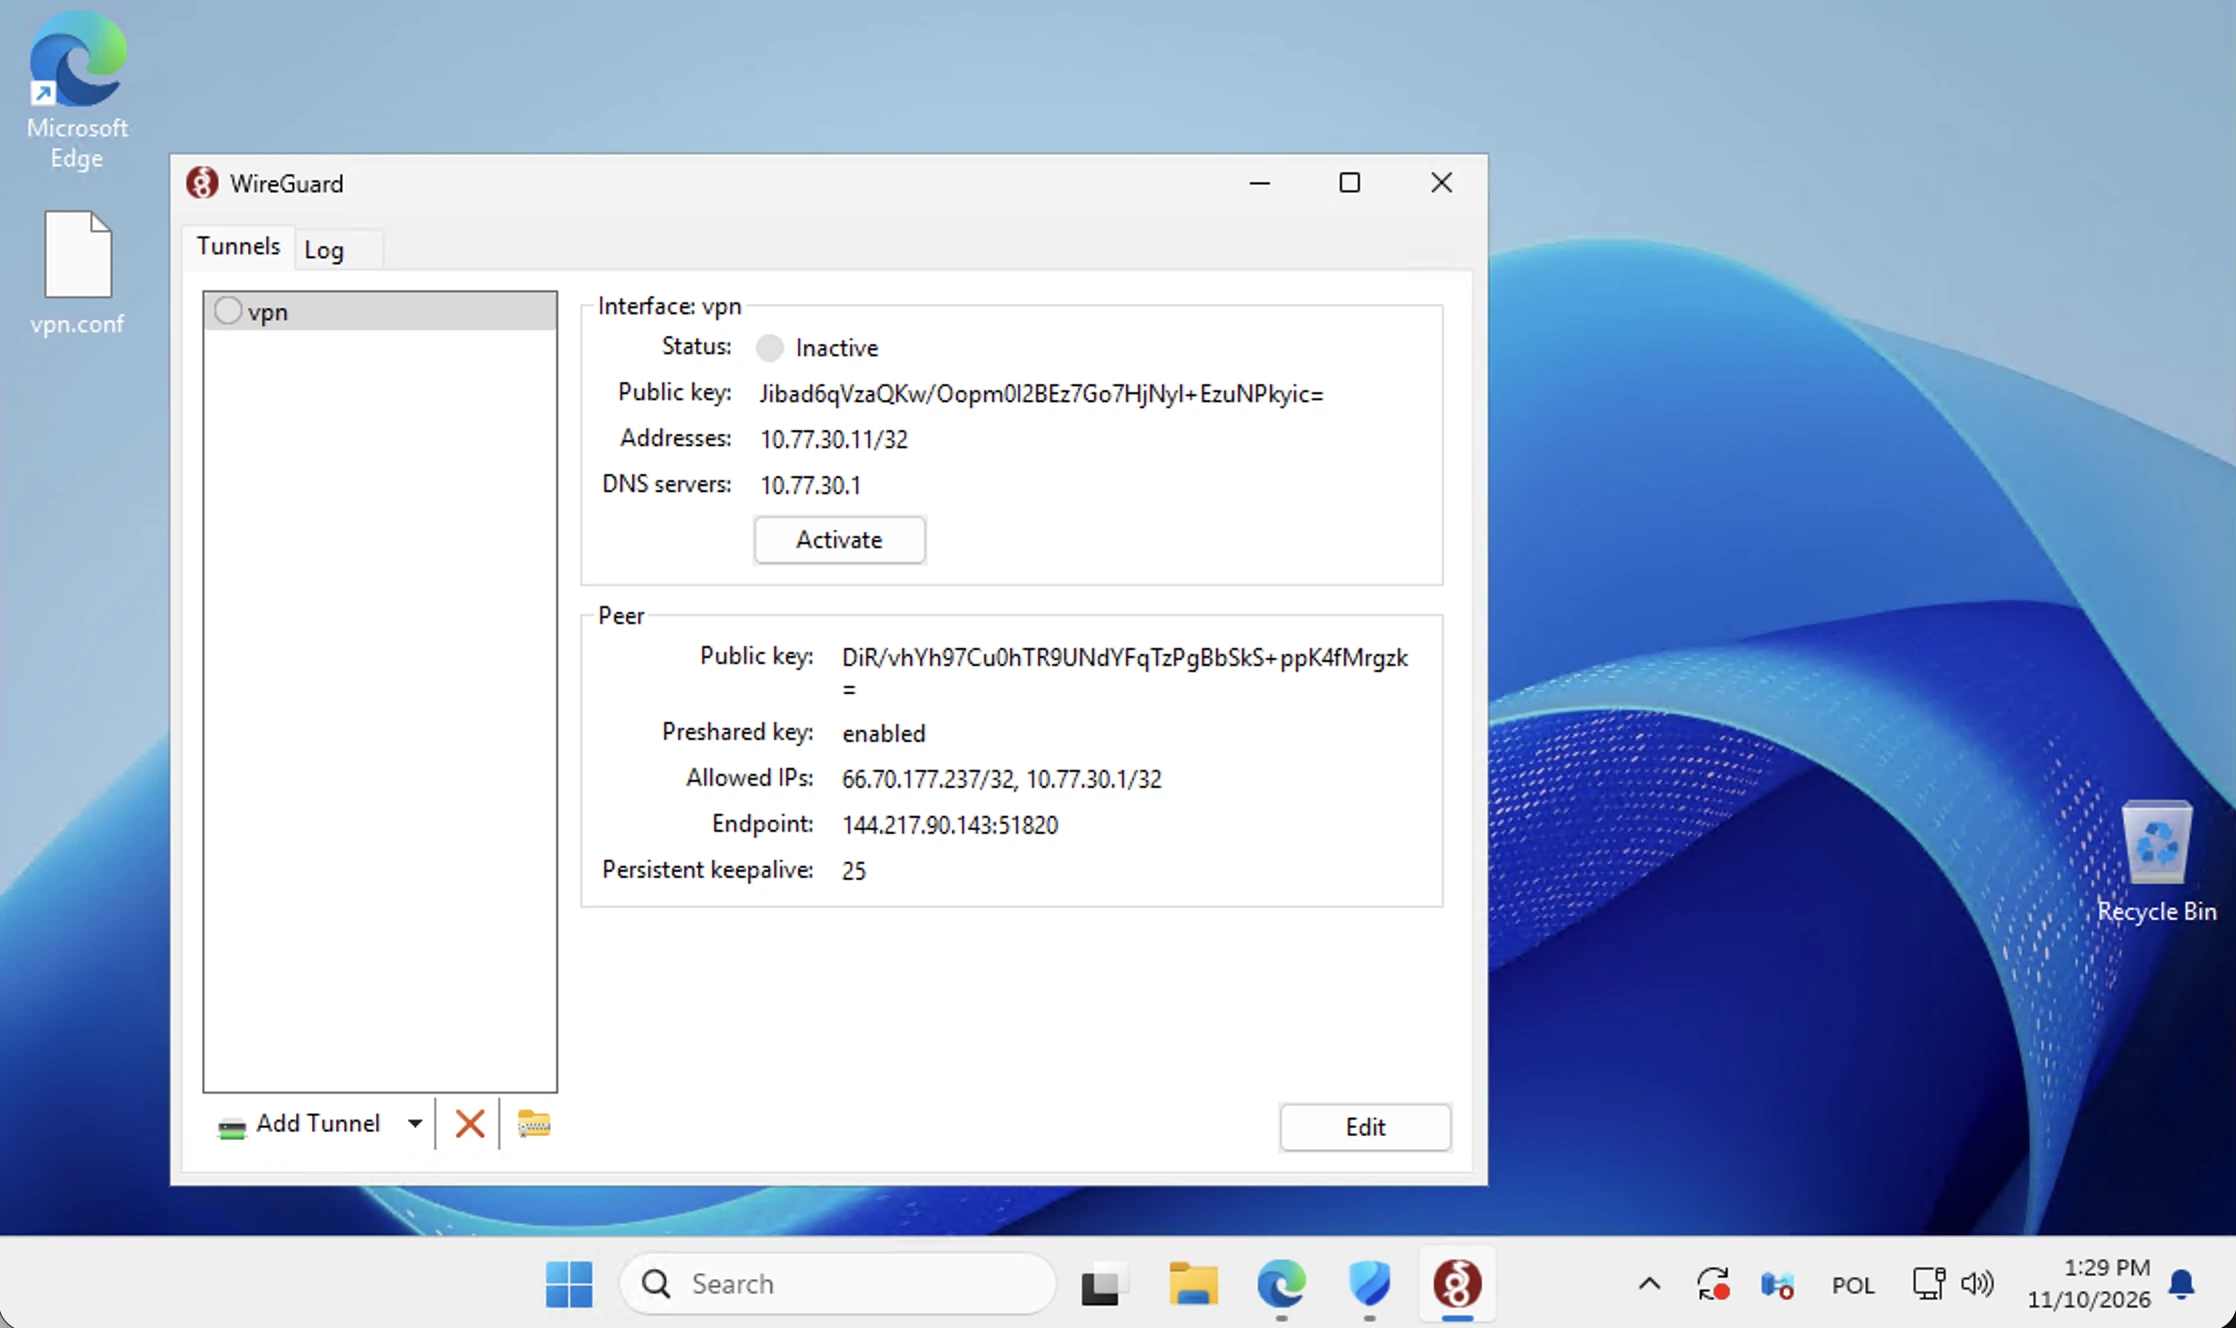
If import fails, check that you selected the WireGuard file rather than an OpenVPN profile or a web page saved instead of a download. Send support the error without exposing the profile's private key. Repeatedly creating new empty tunnels adds confusion without repairing the download.
Activate and inspect the connection
Select the intended profile and choose Activate. Approve an expected client permission prompt only when it relates to the application you installed. Allow a short interval for the connection to establish, then inspect its status.

Active indicates that the local tunnel is enabled. A recent handshake and traffic movement provide additional evidence that communication with the configured peer is occurring. They do not by themselves prove your Windows account is authorised or that every application is available.
Keep the tunnel active during remote work. If you move between networks, put the computer to sleep or lose Wi-Fi, check this stage again before retrying RDP. Avoid activating unrelated VPNs simultaneously unless your organisation supports that combination.
Open Remote Desktop with the supplied destination
Search Windows for Remote Desktop Connection, or run mstsc. You are now opening the display and sign-in client; you are not changing the VPN or server configuration.
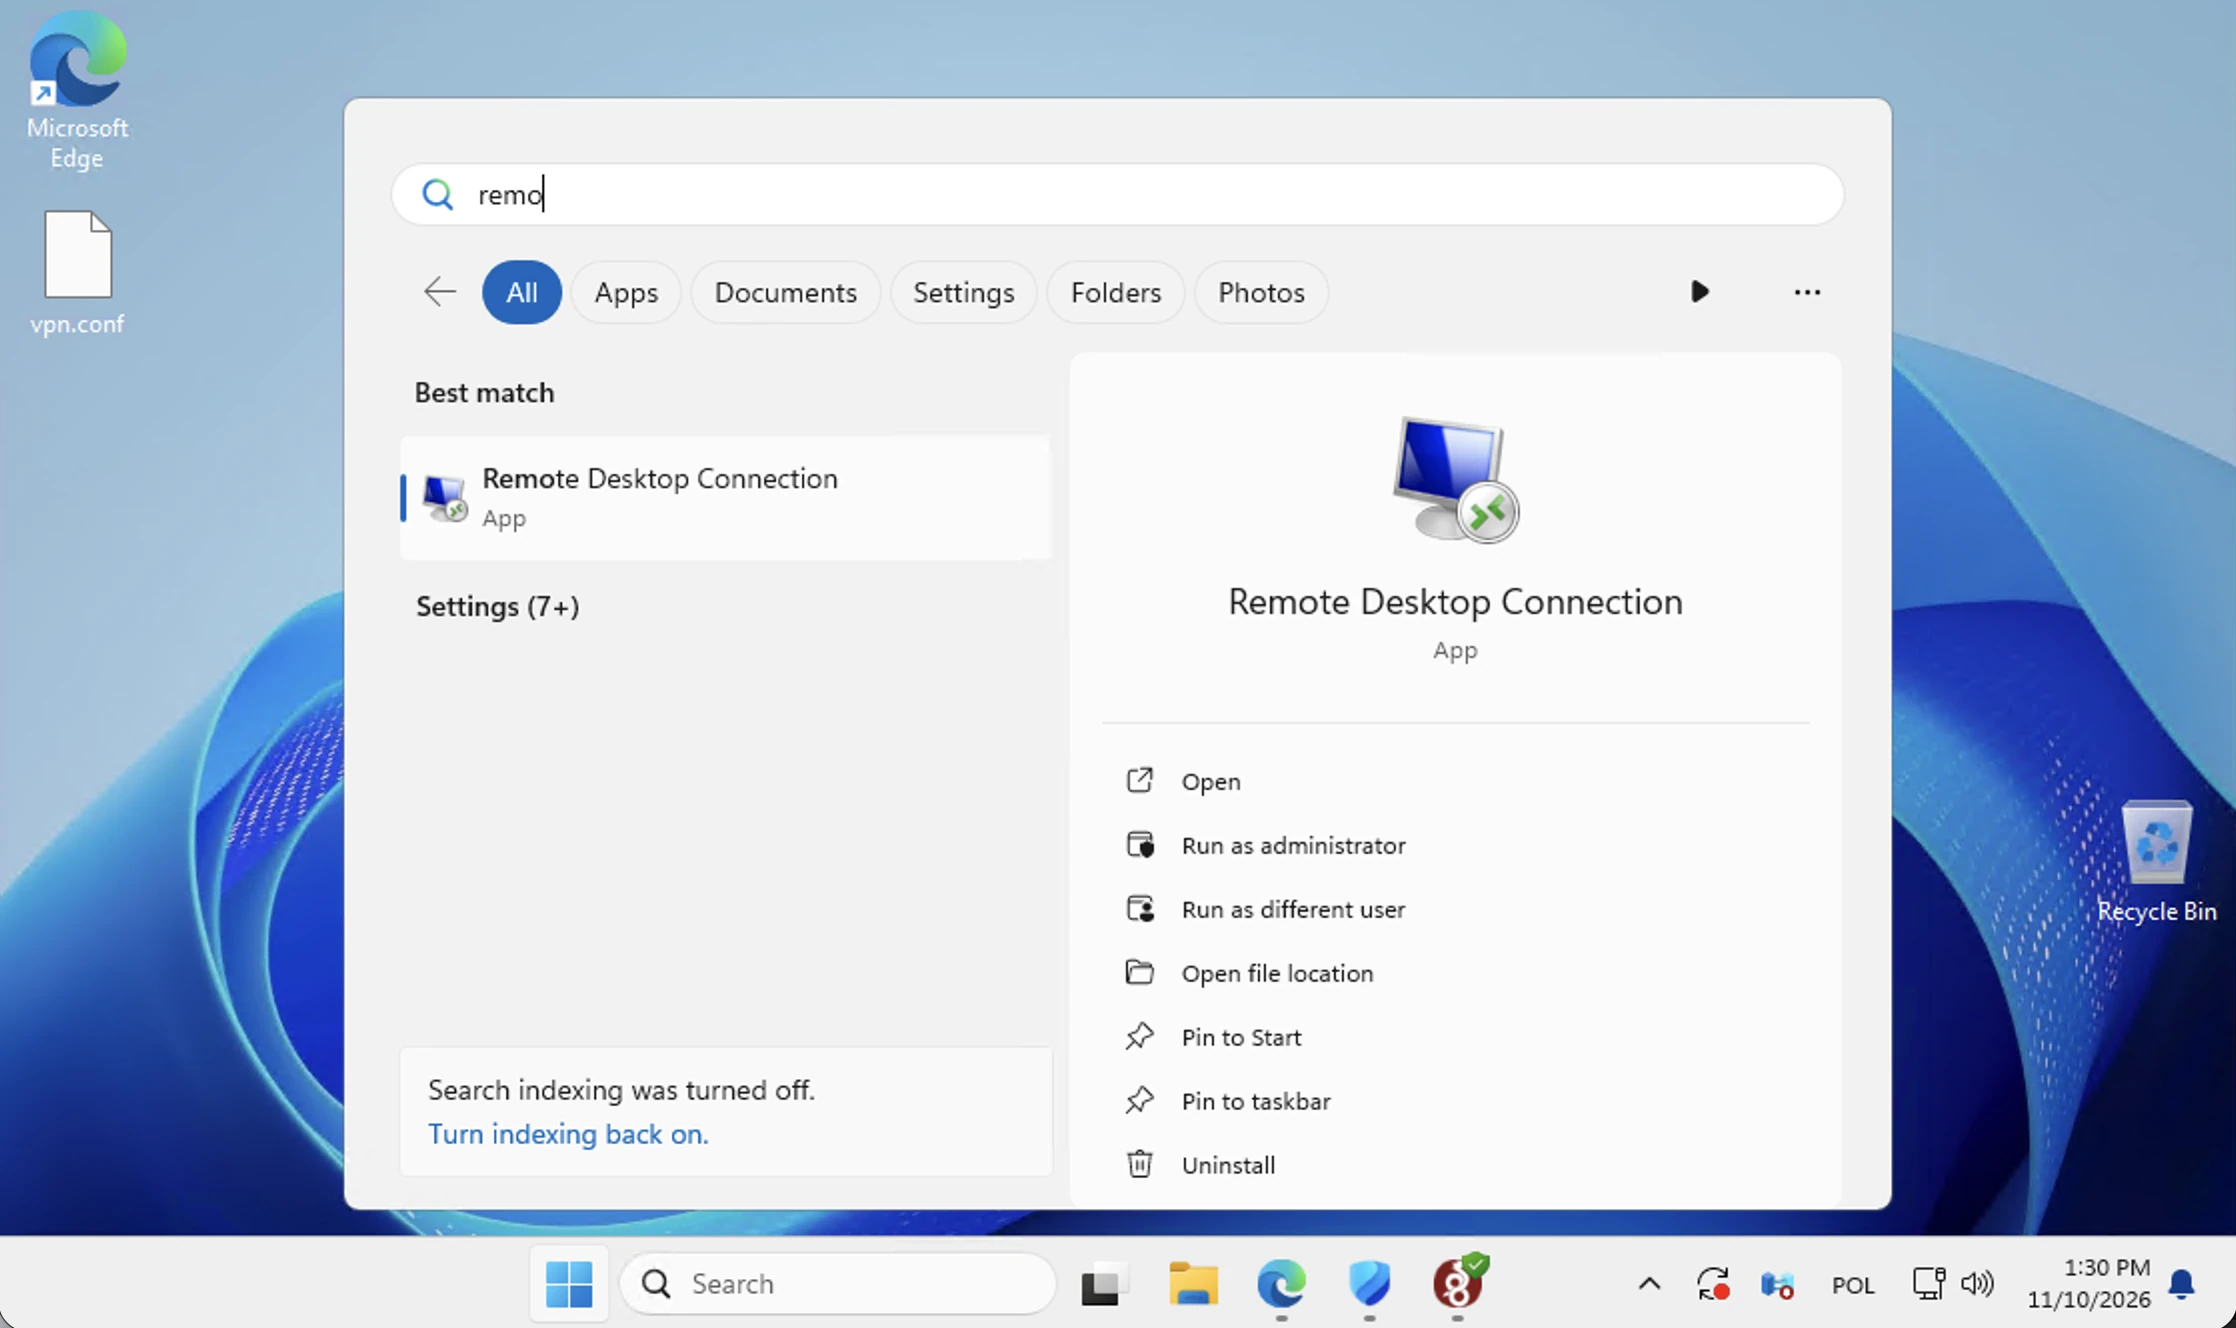
Paste the RDP address from your service panel into Computer and select Connect. Use the exact supplied address and any supplied port. Do not use the WireGuard endpoint or assume an example address in a picture is your destination.
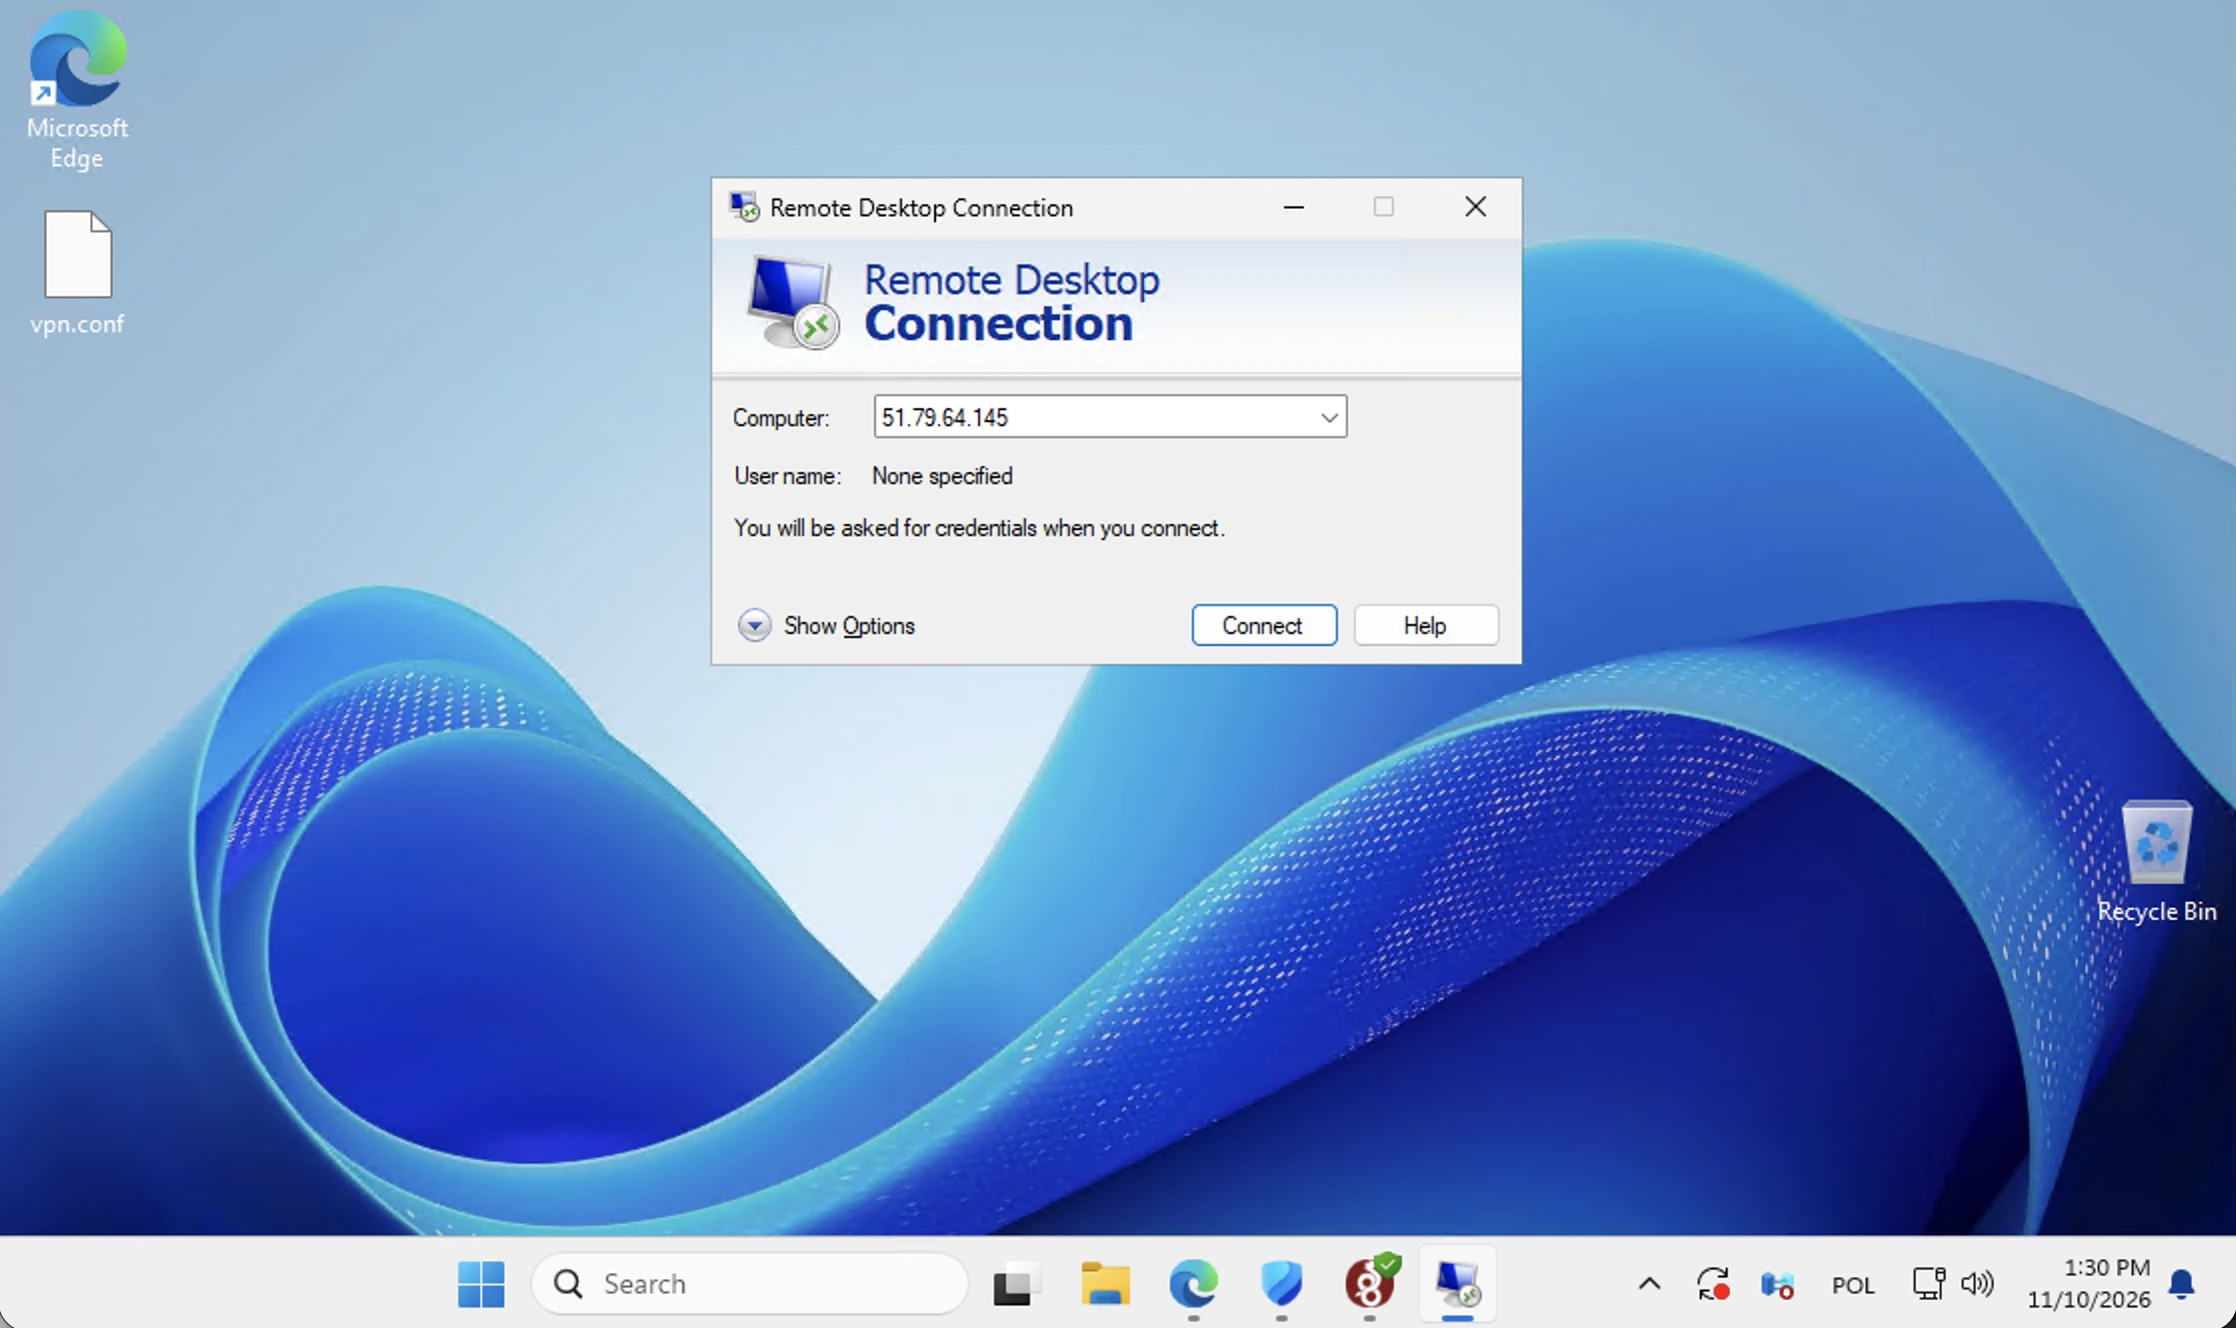
Use your individual Windows credentials
At the Windows Security prompt, enter your assigned Windows username and password. Choose another account if the client proposes an unrelated saved identity. Preserve any domain prefix included in the handover.
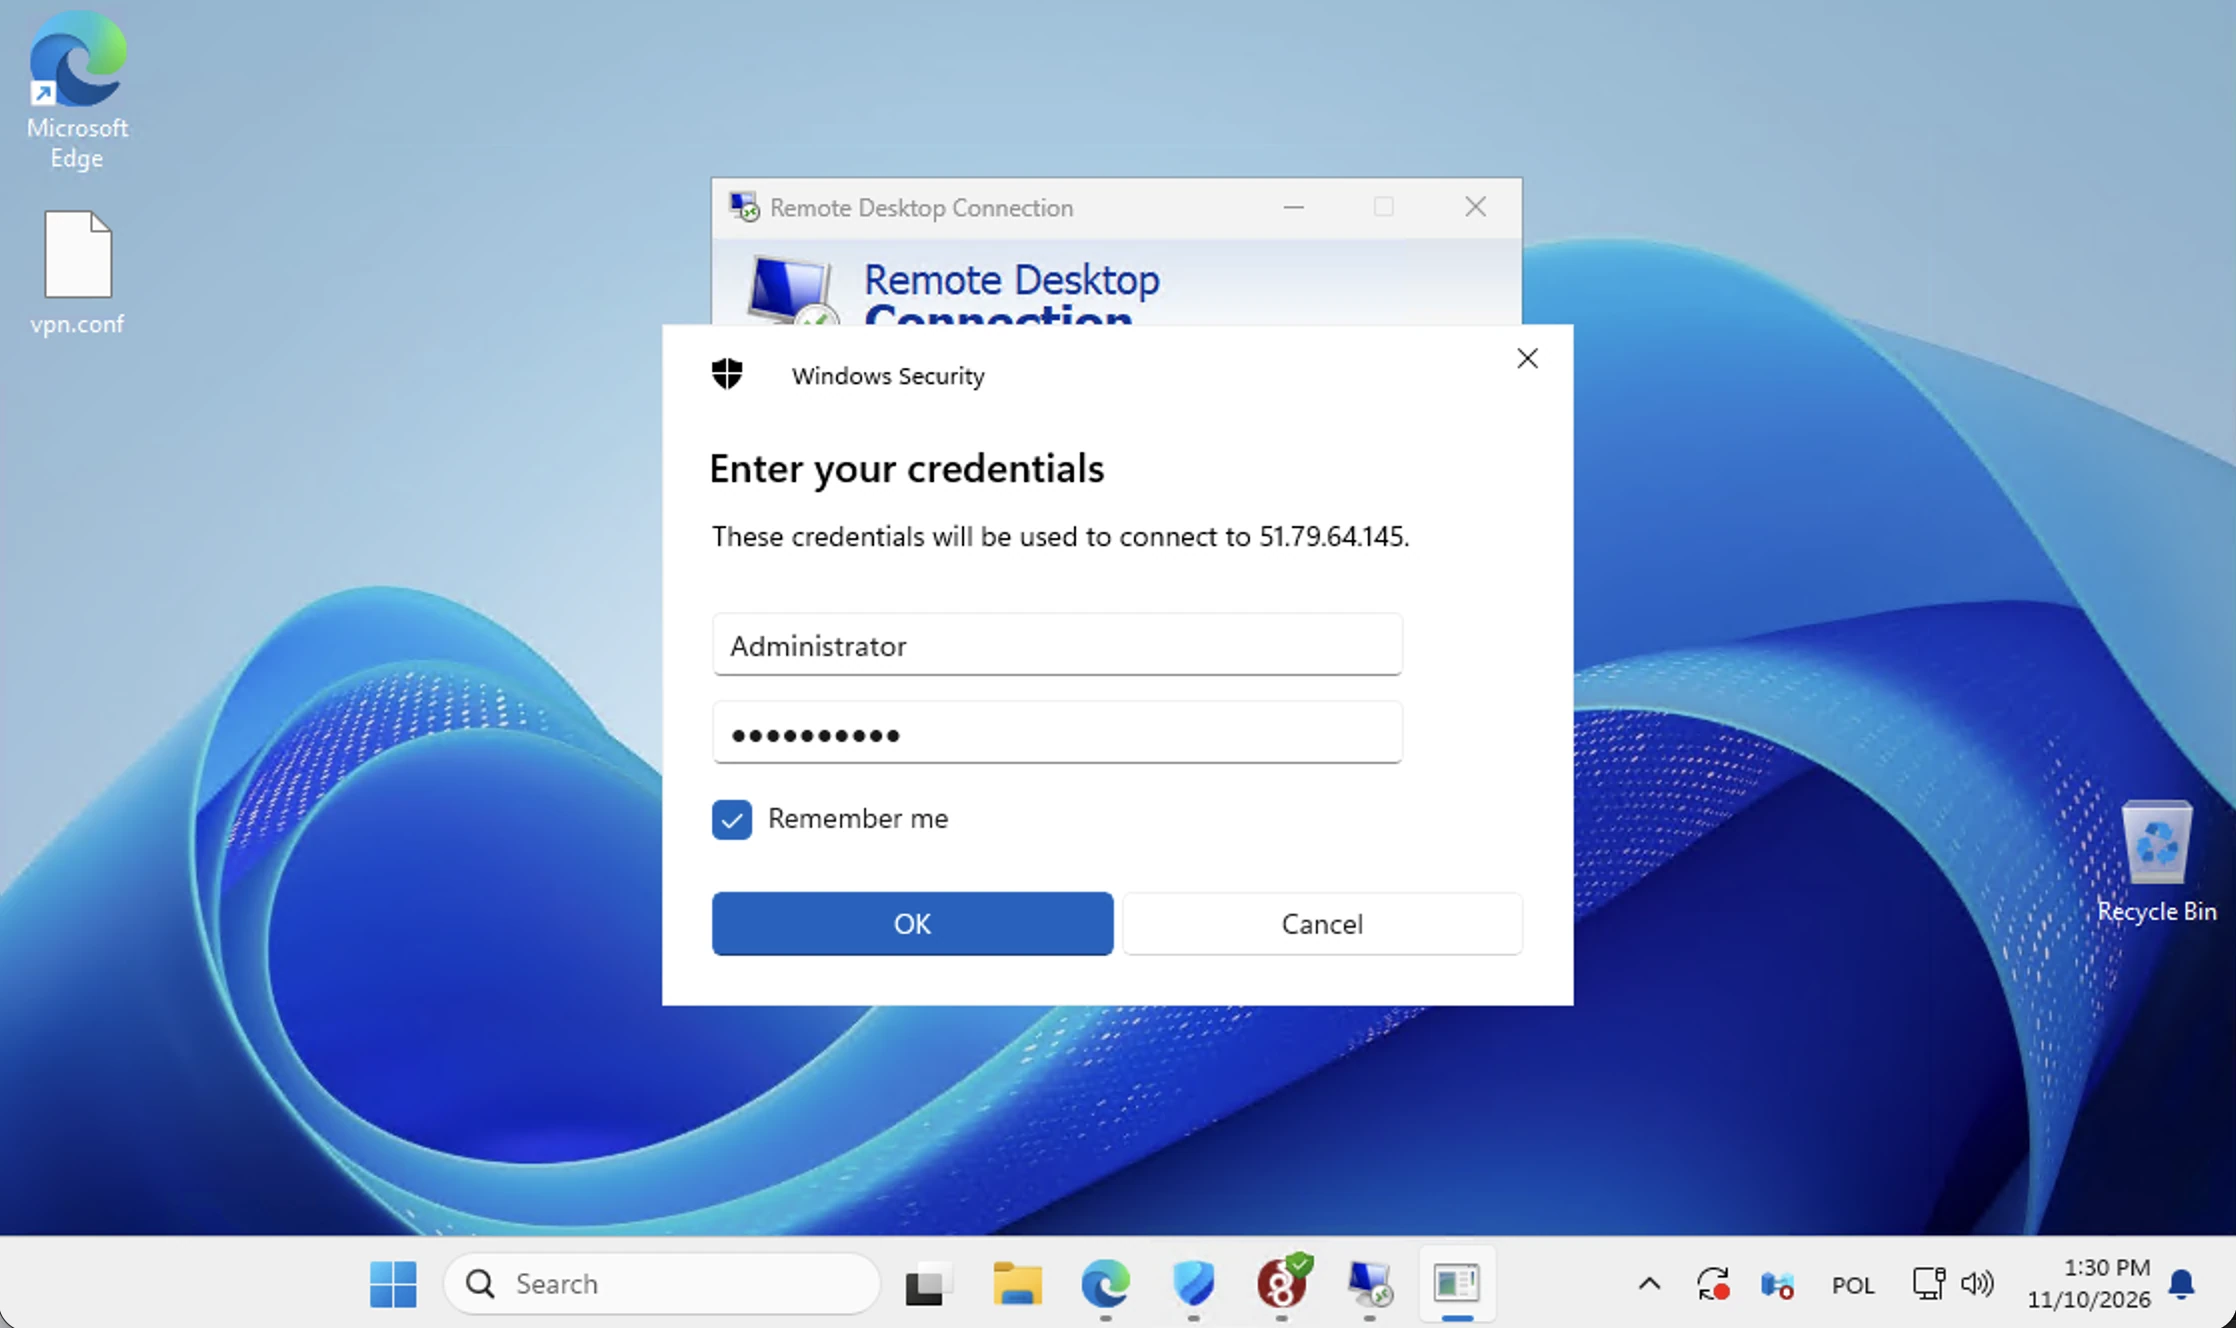
Store credentials only if your organisation permits it on this device. A shared or unmanaged computer should not retain business access casually. Repeated password failures can lock an account, so check layout, destination and username before continuing to retry.
Handle the server-identity check
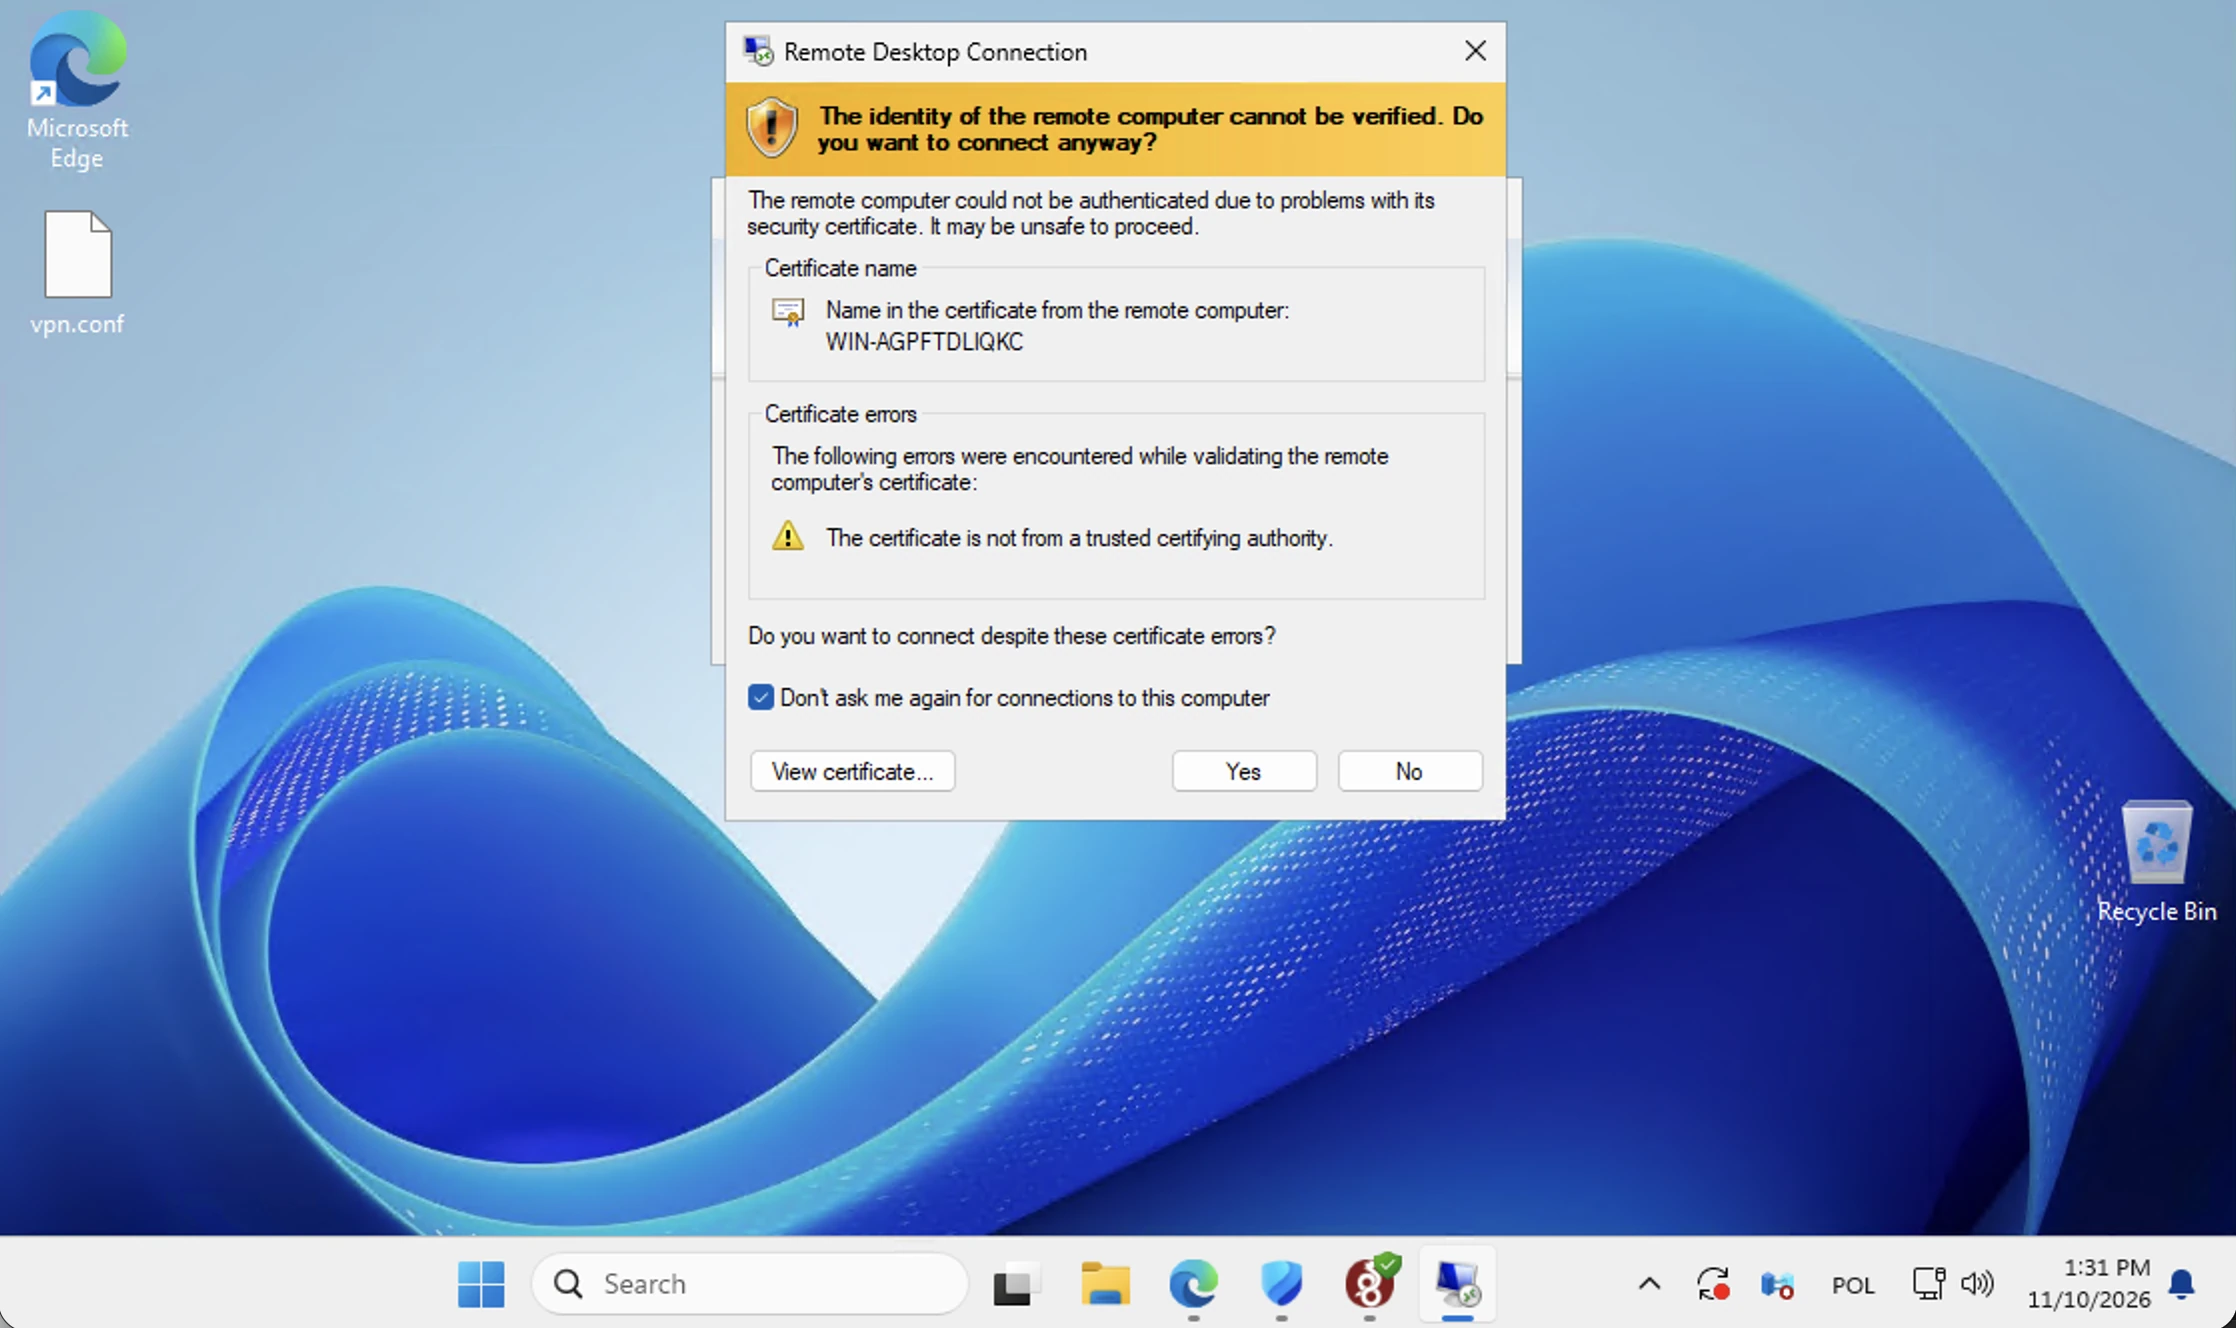
Review certificate information if the client presents a warning. Confirm the expected endpoint through the handover or support rather than accepting every warning automatically. An unexpected name or changed identity should be investigated before sending credentials.
Once Windows opens, confirm the intended user, application and shared folders. Test a normal non-destructive action. If the desktop is available but a business resource is not, report that resource specifically rather than replacing the VPN profile.
Use the prepared service without rebuilding its access
Netcloud24 manages the environment from A to Z, including the agreed server configuration and access setup. The supplied device profile is the result of that preparation. Customers only apply the ready-to-use profile and sign in; they do not need to generate keys, create peers or configure server routing.
During the first working session, confirm the applications and company data locations agreed at onboarding. Check any required printer or clipboard function using nonconfidential information and company policy. A function can be deliberately restricted, so report a specific requirement rather than changing security settings yourself.
Keep a clear record of which device owns the profile. Replacing a laptop or reinstalling Windows can require the corresponding access to be refreshed. Ask support for the correct replacement arrangement instead of circulating the old configuration among several users. This also makes later withdrawal of one device's access more reliable.
Separate connection problems and end the session cleanly
No handshake points towards the VPN stage; a working VPN followed by a credential error points elsewhere. Provide support with the stage, timestamp and exact message. Never include passwords or the configuration's private contents in a screenshot.
Save work before signing out. Closing RDP usually disconnects without immediately closing the session; signing out ends it. When remote work is finished, deactivate the tunnel if that matches your organisation's procedure. See the illustrated RDP sign-in guide for more detail on the Windows prompts, or the Mac walkthrough for a different device.
 Preparing RRAS for an agreed Windows Server gateway role
Prepare RRAS by choosing its gateway purpose, verifying platform support and interface design, installing only needed services, and testing…
 Providing controlled outbound IPv4 access with RRAS NAT
Configure traditional RRAS outbound NAT from the client’s full route, assign deliberate interface roles, verify actual translations and…
 Building a certificate-validated IKEv2 remote-access service
Design an IKEv2 service around gateway and EAP certificate validation, narrow NPS authorisation, managed client provisioning and external…
 Connecting two routed sites through an RRAS IKEv2 interface
Connect two sites using an RRAS IKEv2 interface with machine certificates, complementary subnet routes and matched responder policy, then…
 Introducing NPS as a controlled RADIUS authority
Introduce NPS with distinct AD registration and RADIUS peer trust, narrow policy matching, current integrity and certificate requirements,…