
A Windows Server 2025 deployment should begin with a build specification and end with evidence that the intended workload can be supported. Selecting Desktop Experience provides the graphical server interface; it does not by itself configure applications, remote access or recovery.
This is an administrator procedure for an authorised clean installation. Netcloud24 prepares the agreed operating system and access arrangements for Managed customers, so those customers should coordinate a rebuild through the service team rather than reinstall a working environment themselves.
Establish the reason for a clean build
A clean installation creates a fresh operating-system instance and can erase existing information. Use it for an approved new server or replacement whose data and applications have a recovery or migration path. It is different from an in-place upgrade designed to retain supported configuration.
Confirm vendor support for Windows Server 2025, the selected edition and the graphical installation option. Include the database, drivers and reporting components. Do not select a newer platform merely because an older installer appears willing to run on it.
Record the target platform, disks, networking, licensing method and acceptance owner. Agree the production downtime and rollback boundary if this server replaces an existing service.
Protect the installation target and recovery materials
Identify every attached disk by purpose and size. Keep verified backups and recovery instructions outside any storage setup could overwrite. An installation screen cannot determine which disk holds the organisation’s only current dataset.
Arrange independent console access through the platform or hardware management interface. Remote Desktop is unavailable during setup and cannot be the only access plan for first-boot networking.
Use authorised installation media and supported platform drivers. Check Microsoft’s current requirements against the actual virtual or physical hardware. Size resources for the application and its growth, rather than treating setup minimums as a performance recommendation.
Boot and choose the intended image
Attach the approved ISO or installation device and select it through the platform boot process. Confirm the console belongs to the intended machine before accepting any data-loss prompt. Choose the correct language and keyboard layout, which also affects initial password entry.
Current 2025 media can show a setup-option screen, a deletion acknowledgement and a licensing-method choice. Older media can present a different sequence. Follow the release-specific screens; do not assume the 2019 or 2022 Custom installation wording must appear.
Select the authorised Standard or Datacenter image whose name includes Desktop Experience. The corresponding image without that wording installs Core. For these server releases, the installation option cannot be switched later by adding a desktop feature.
Use the licensing method approved for the deployment. A pay-as-you-go option on eligible 2025 media has separate prerequisites and should not replace a provider-managed licence as an experiment.
Make disk selection a deliberate checkpoint
Compare the displayed destination with the disk inventory. Change partitions only according to the approved layout. Avoid a blanket instruction to delete every partition, particularly where data disks or another installation are attached.
If the expected disk is missing, inspect its attachment and supported controller driver. Do not initialise another visible disk to see whether setup will continue. If the target layout is ambiguous, resolve the ambiguity before installing.
Review the final image and destination summary, then allow installation and required restarts to complete. On subsequent boots, start from the system disk instead of repeatedly launching the installer from the ISO.
Confirm the installed state at first sign-in
Set the initial Administrator password through the approved secure process and complete applicable first-run prompts. Keep the credential in the authorised secret store rather than the build notes.
In elevated Windows PowerShell, collect the identity and edition:
Get-CimInstance Win32_OperatingSystem |
    Select-Object Caption, Version, BuildNumber
Get-ItemProperty 'HKLM:\SOFTWARE\Microsoft\Windows NT\CurrentVersion' |
    Select-Object InstallationType
DISM /Online /Get-CurrentEdition
Expect the intended Windows Server 2025 edition and graphical server installation. Investigate a mismatch before installing production applications. The presence of a desktop is not a complete licensing check.
Read activation information without changing keys:
cscript.exe //nologo "$env:windir\System32\slmgr.vbs" /xprUse the approved activation owner if the result is unexpected. A key from another machine or an unknown activation service is not a legitimate diagnostic tool.
Check hardware presentation and network readiness
Get-NetAdapter | Select-Object Name, Status, LinkSpeed
Get-Volume | Select-Object DriveLetter, HealthStatus, SizeRemaining, Size
Get-NetIPConfiguration
Compare the adapters and volumes with the build specification. Check Device Manager for missing critical drivers and use the platform’s supported driver source. A usable display does not establish storage or network readiness.
Configure addressing only from the approved allocation. Hosted networks can have routing requirements unlike a small office subnet. Keep console access while the network is tested; do not expose administrative ports widely to prove connectivity.
Complete servicing and operational acceptance
Apply approved Windows updates and platform components, finish required restarts and record the resulting build. Detach the installation media when no longer needed. Set the approved name, DNS, time and management arrangements before building the application workload.
Prepare individual administrative identities and the correct ordinary-user permissions. Install only required roles. A graphical server still needs restricted access, monitoring and a tested recovery method.
Have the application owner verify representative work through the intended client route. Check the correct dataset, printing, reporting and integrations. Keep the previous environment protected through the agreed migration acceptance window.
Keep operating-system administration separate from employee application access. Installing Desktop Experience does not create a complete RDS deployment or license every user. Agree the supported connection route, named accounts and application permissions before ordinary staff are invited to use the server. Check the handover through a representative user account.
Handle a failed or incorrect build through recovery
Capture setup errors and investigate media integrity, hardware compatibility or capacity according to the observed failure. Do not cycle through unrelated firmware or disk changes without a record.
If Core was installed accidentally, protect any information created and rebuild with the correct image. A clean installation has no automatic return to the previous operating system; recovery depends on the plan established beforehand.
Continue with production acceptance checks. Microsoft’s installation-media guide and hardware requirements provide platform-specific detail.
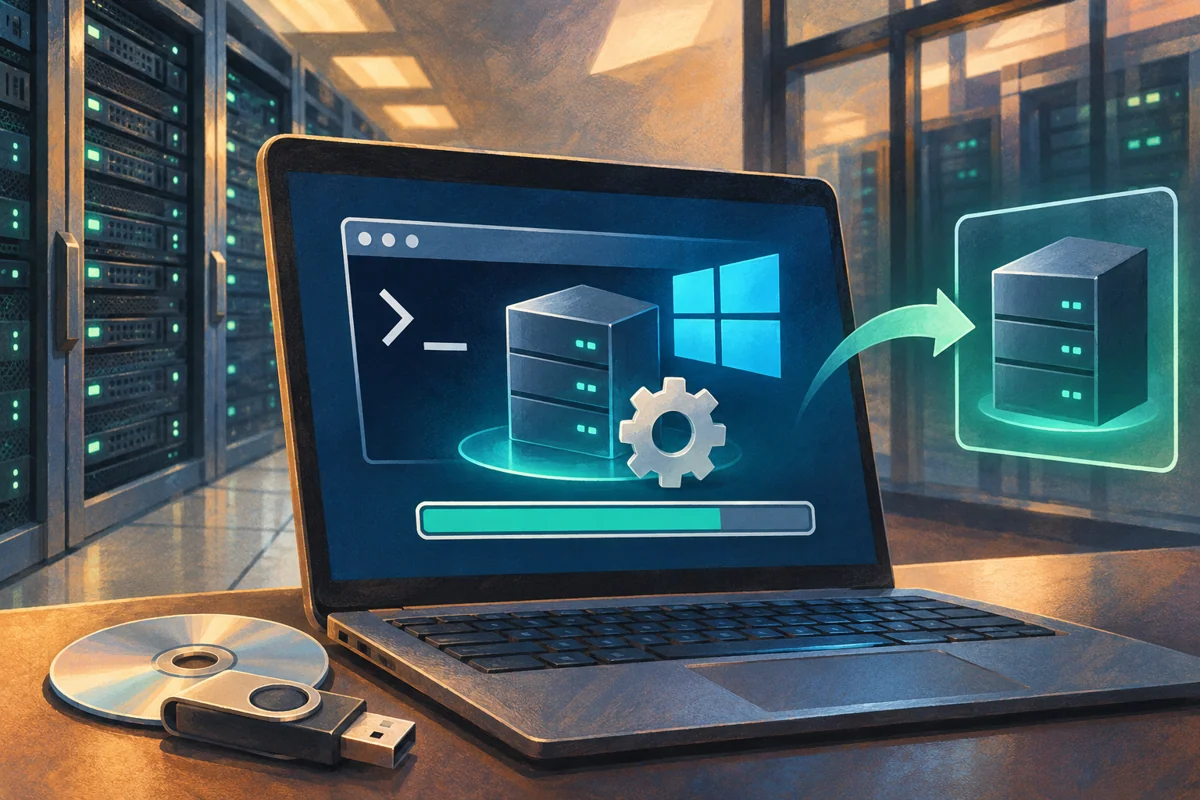 Building a manageable Windows Server 2022 Core instance
Plan and install a supportable Windows Server 2022 Core instance. Verify workload fit, image and storage, then establish SConfig, remote…
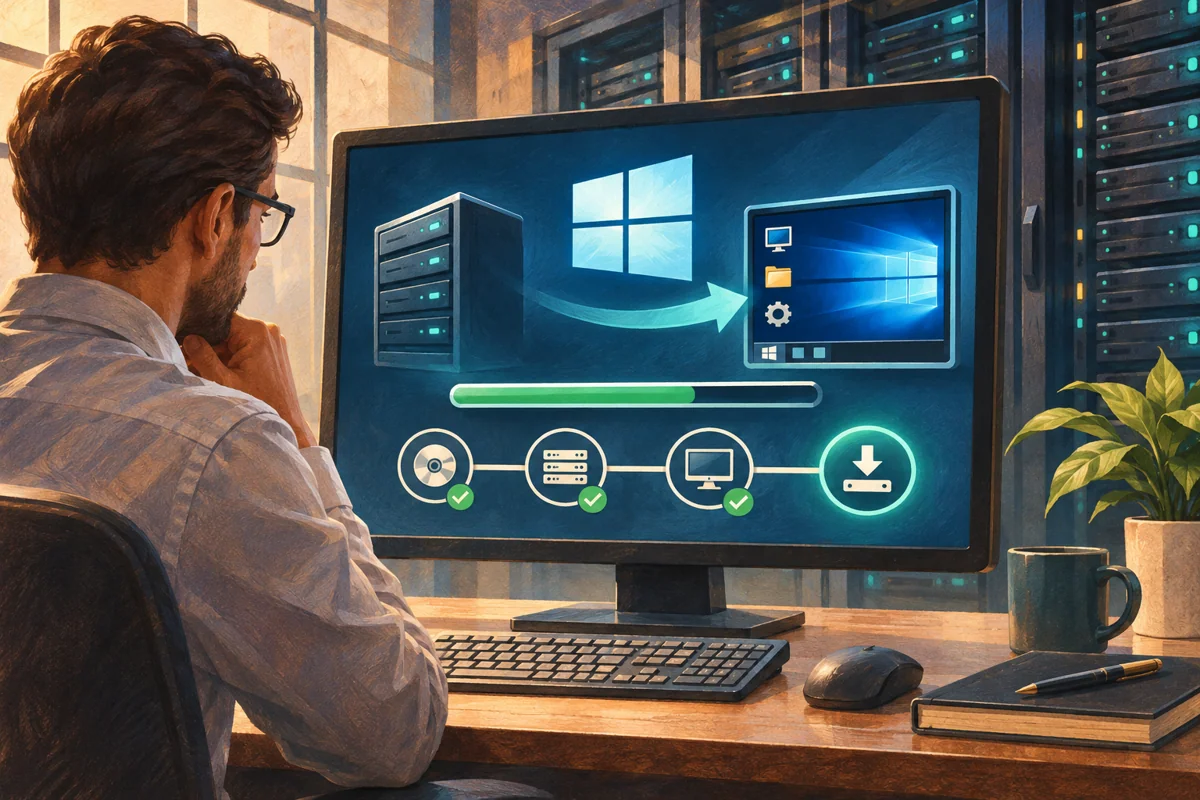 A supported clean build of Windows Server 2019 Desktop Experience
Create a justified Windows Server 2019 graphical deployment with protected disks, correct media and verified servicing. Accept the…
 Selecting a Windows Server interface for the workload and support team
Choose the Windows Server interface around application support, maintenance tasks and recovery skills. Compare Core and Desktop Experience,…
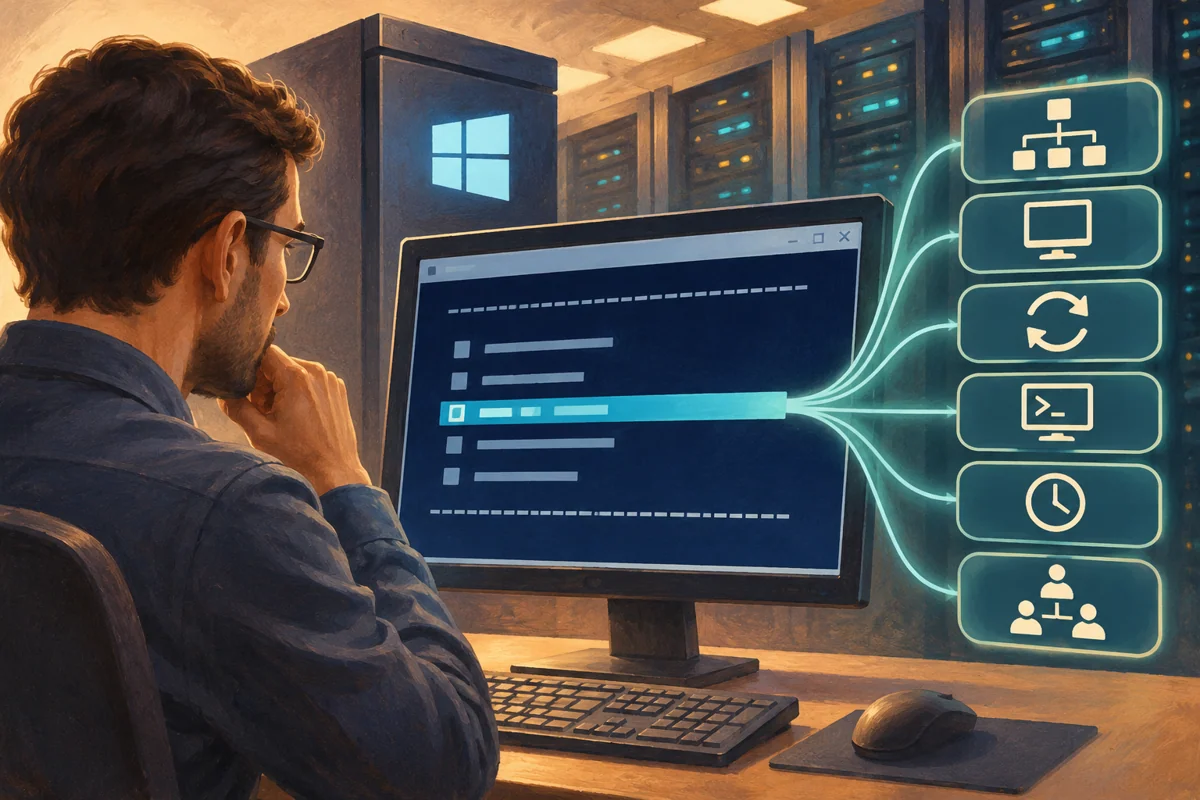 Establishing a Server Core baseline with the SConfig menu
Establish a coherent Server Core baseline using SConfig. Prepare identity, networking, membership, maintenance and access decisions, then…
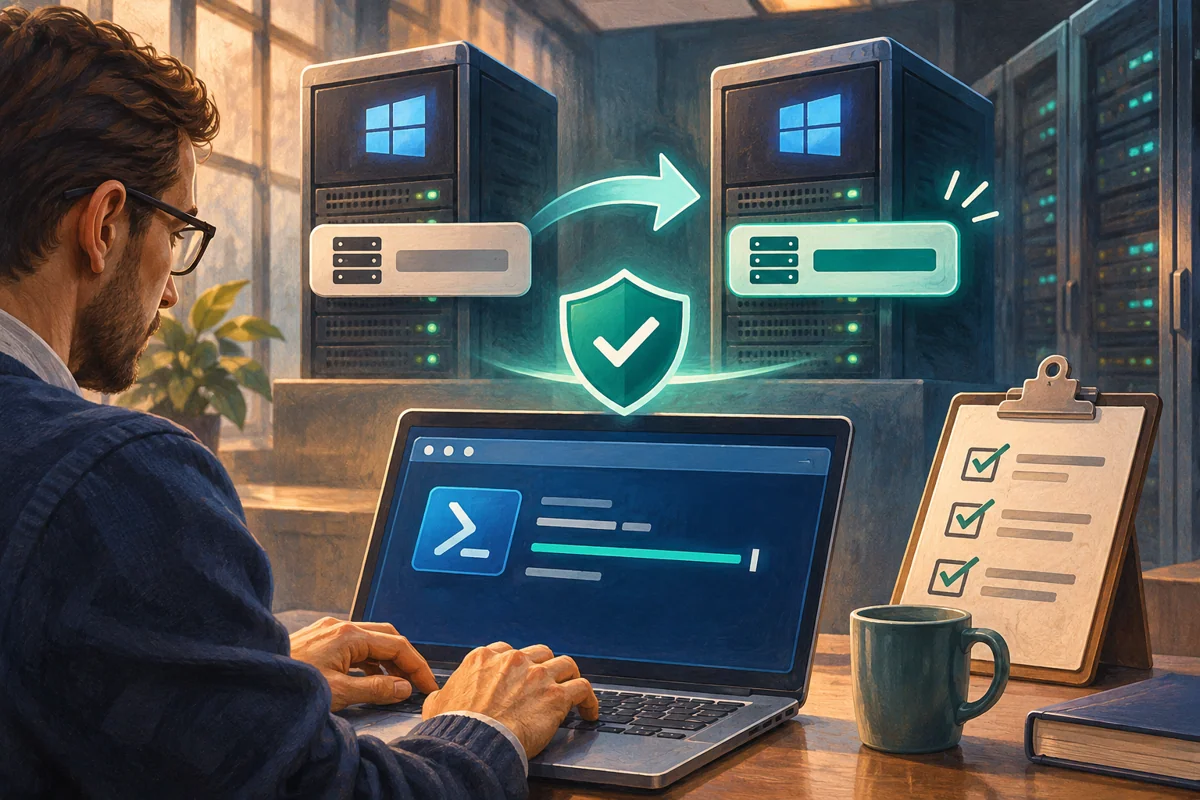 Planning and verifying a Windows Server hostname change
Treat a Windows Server rename as an identity change. Review dependencies, reserve the name, control the reboot and verify DNS, trust,…