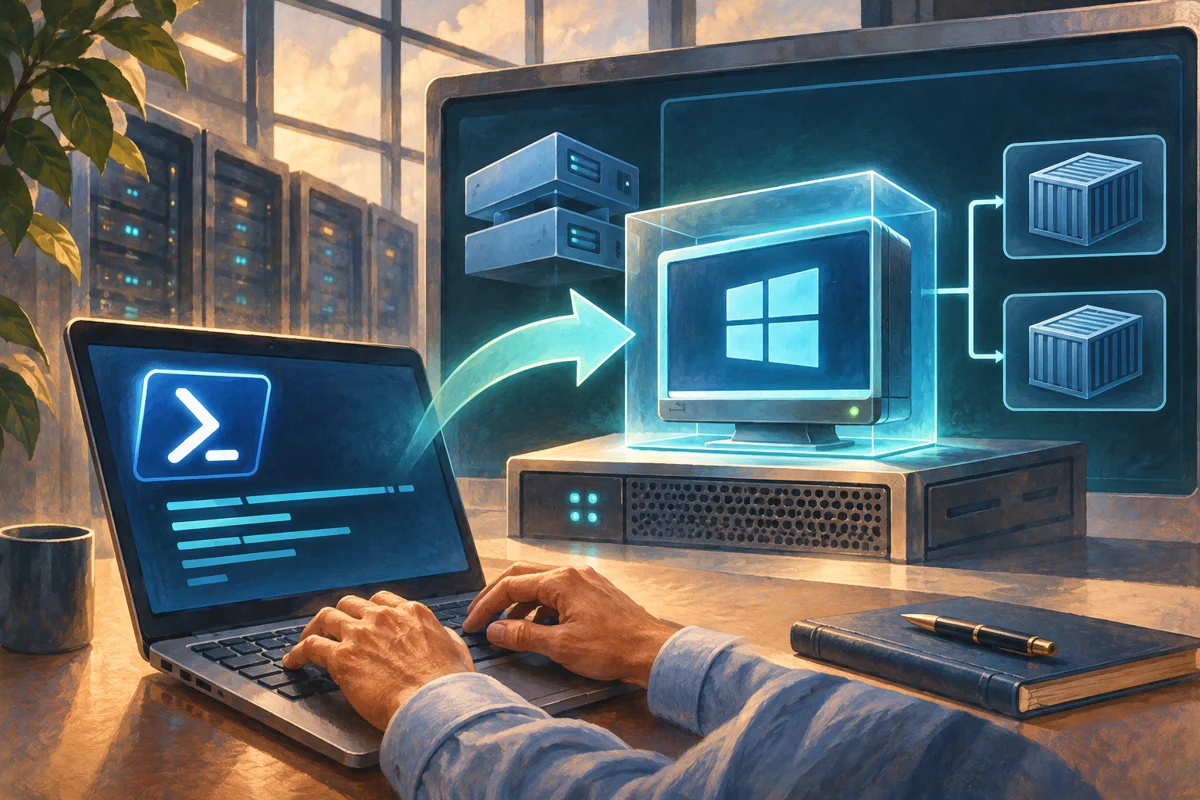
Platform: Windows Server 2019, 2022 and 2025, with the version and hosting restrictions described below.
Agree the guest specification before creating its disk
A useful virtual-machine build starts with the application specification: operating system, memory, processor allocation, storage, network placement and recovery owner. Generation 2 is the normal UEFI-based choice for supported modern guests, but support must be checked for the intended operating system and boot image. The VM generation is fixed at creation; an incorrect choice is not repaired later with a firmware checkbox.
Netcloud24 prepares the agreed managed environment before customer handover. The commands here are for the authorised team performing that provisioning, or for an administrator explicitly responsible for their own Hyper-V infrastructure. They describe a new guest rather than a shortcut for cloning a live production server. Existing boot disks and copied server identities require a separate migration or generalisation process.
Check capacity and deployment inputs
For the example, a new guest named Orders-Test receives two virtual processors, 6 GB startup memory and a 100 GB virtual OS disk. These are illustrative build values. The application and the host’s available resources determine appropriate settings; allocating excessive vCPUs can introduce scheduling costs rather than improve a storage-bound workload.
Confirm the installation ISO’s origin, architecture and edition. Check licensing and activation arrangements. Make sure the proposed VM name and VHDX path are unused, and verify that the selected volume can accommodate growth and maintenance rather than only the small initial dynamic disk file. Use an isolated build network if the guest should not contact production systems before its baseline is applied.
Get-VM -Name 'Orders-Test' -ErrorAction SilentlyContinue
Get-VMSwitch -Name 'Tenant-Access'
Get-Volume -DriveLetter E
Test-Path 'E:\Images\Server-Install.iso'
Test-Path 'E:\VirtualDisks\Orders-Test.vhdx'
An existing path is a reason to investigate, not to delete the file or add Force. Keep the change record tied to the actual host and storage identity, particularly when several administrators provision machines concurrently.
Create the guest without reusing unknown storage
From elevated Windows PowerShell on the host, create the new configuration and VHDX in the approved directories. Supplying Generation 2 is important because omitting it can create a different firmware model. Attaching the switch establishes a virtual link only; it does not configure an address inside the guest.
New-VM -Name 'Orders-Test' -Generation 2 -MemoryStartupBytes 6GB `
  -Path 'E:\VirtualMachines' -SwitchName 'Tenant-Access' `
  -NewVHDPath 'E:\VirtualDisks\Orders-Test.vhdx' -NewVHDSizeBytes 100GB
Set-VMProcessor -VMName 'Orders-Test' -Count 2
Set-VMMemory -VMName 'Orders-Test' -DynamicMemoryEnabled $false -StartupBytes 6GB
Set-VM -Name 'Orders-Test' -CheckpointType ProductionOnly
Static memory provides an explicit starting point for this build. Dynamic Memory can be configured where the guest and application support it, with reviewed minimum and maximum values. ProductionOnly is a checkpoint policy, not a backup job: it prevents a failed production checkpoint from silently becoming a standard memory snapshot. It does not protect the newly created machine by itself.
Give UEFI the intended boot device
Generation 2 guests created with New-VM do not automatically receive a DVD drive. Add one for the approved ISO, then set it first in the boot order for installation. Windows installation media should use the Microsoft Windows Secure Boot template. A supported Linux image may need the Microsoft UEFI Certificate Authority template instead.
Add-VMDvdDrive -VMName 'Orders-Test' -Path 'E:\Images\Server-Install.iso'
$installationDrive = Get-VMDvdDrive -VMName 'Orders-Test'
Set-VMFirmware -VMName 'Orders-Test' -EnableSecureBoot On `
  -SecureBootTemplate MicrosoftWindows -FirstBootDevice $installationDrive
Get-VMFirmware -VMName 'Orders-Test' |
  Format-List SecureBoot,SecureBootTemplate,BootOrder
If several DVD drives exist, select the intended controller location rather than passing an ambiguous collection. Secure Boot errors call for checking the image, signature and template. Disabling verification across the guest is not the standard solution for a valid supported Windows ISO. A legacy image that cannot use UEFI may require a different VM design rather than repeated boot-order changes.
Observe the first boot through the console
Start the guest and use VMConnect or the approved console. Installation media can require a timely keypress; missing that prompt may lead to network boot or a no-bootable-device message. Confirm what the console actually shows before assuming the virtual disk is faulty.
Start-VM -Name 'Orders-Test'
Get-VM -Name 'Orders-Test' | Select-Object Name,State,Status,Generation
Get-VMNetworkAdapter -VMName 'Orders-Test' |
  Select-Object Name,SwitchName,MacAddress,Status
Complete setup using the agreed edition and secure administrator-credential process. Apply updates, hostname, time configuration and security baseline before granting routine access. Assign an unused approved IP or use the authorised DHCP service. A virtual adapter reporting healthy at the host does not prove the guest has a correct gateway, DNS resolver or VLAN.
Turn an installed operating system into an accepted service
Inside the guest, check the build, activation path, expected memory and processor visibility, name resolution and required application connections. Domain join should follow the intended identity and OU placement rather than a copied image’s assumptions. Modern Windows integration components are serviced with Windows; do not attach an old integration-services installer merely because a historical guide does so.
From the host, inspect integration status and disk attachments. Test orderly guest shutdown and restart after installation. Confirm the machine now boots from its OS disk, then detach the ISO so an unattended restart cannot unexpectedly return to setup.
Get-VMIntegrationService -VMName 'Orders-Test'
Get-VMHardDiskDrive -VMName 'Orders-Test'
Get-VMDvdDrive -VMName 'Orders-Test'
Set-VMDvdDrive -VMName 'Orders-Test' -Path $null
A Running host state is not application acceptance. Check the actual application, enrol the VM in monitoring and backups, and establish a restoration procedure. For a managed customer, handover should identify the prepared service and access arrangements without requiring them to understand the hypervisor’s internal build commands.
Investigate failed provisioning without damaging existing machines
For a startup-memory error, compare available host RAM with the guest’s startup allocation. For boot failure, inspect the ISO attachment, UEFI compatibility and firmware order. For network failure, check switch selection, guest VLAN and addressing. Do not rebuild the VM to repair a DNS record, or increase vCPU count to address a missing boot device.
If creation stopped halfway, inventory the new registration and files before retrying. Remove-VM does not automatically delete every associated virtual disk, and a same-named file may predate the attempt. Delete only confirmed disposable artifacts after acceptance or cancellation. Once the machine holds application data or a domain identity, use the full decommissioning and backup process. Record the final specification, disk locations and support owner so its lifecycle remains clear.
 Preparing a Windows Server host for Hyper-V
Prepare an authorised Hyper-V host by reviewing hardware or nested support, collecting machine evidence, installing the role, verifying…
 Planning an external Hyper-V switch without losing host access
Design a Hyper-V external switch around reliable host access, explicit uplink and VLAN choices, then prove a test guest’s path and preserve…
 Managing Hyper-V production checkpoints through a maintenance change
Use Hyper-V production checkpoints as a controlled maintenance tool, make fallback behaviour explicit, validate guest coordination, and…
 Designing and validating recovery with Hyper-V Replica
Build Hyper-V Replica around an application recovery runbook, restricted HTTPS trust, capacity and lag monitoring, then demonstrate an…
 How to Configure Hyper-V Dynamic Memory
Applies to: Windows Server 2019, Windows Server 2022, and Windows Server 2025.Dynamic Memory adjusts virtual-machine RAM within safe…