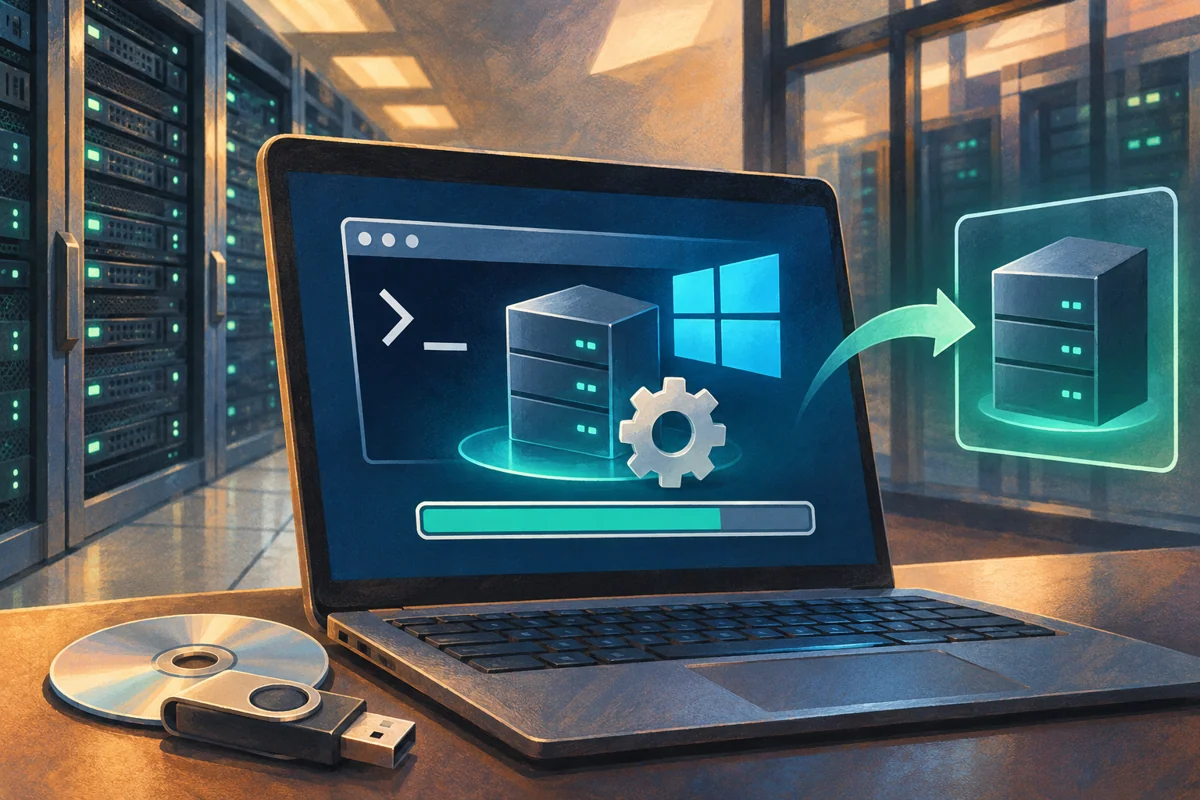
The defining question for Server Core is how the server will be operated after installation. A reduced local interface can suit a supported infrastructure workload, provided the team has working remote tools and a reliable console recovery procedure. Core should be selected as an operating model, not simply as a smaller image.
This administrator guide covers a clean Windows Server 2022 Core build. For a Netcloud24 Managed service, our team prepares the agreed server environment before handover. Customers should request an approved rebuild or configuration change through support rather than treating these technical instructions as onboarding homework.
Prove that the workload belongs on Core
Check the intended Windows roles and every third-party dependency against their support requirements. An application installer may expect graphical components even when the main service runs in the background. Confirm installation, maintenance and recovery support, not only whether one executable starts.
Desktop Experience and Core cannot be interchanged after installation on Windows Server 2022. If a graphical user environment is required by the workload, choose it before setup. The Application Compatibility Feature on Demand adds selected components but does not create the full desktop.
Identify the remote tools used for daily work and the fallback commands used during a network or domain problem. Another authorised administrator should be able to follow the recovery instructions without relying on one person’s memory.
Prepare a build sheet and independent access
Record the edition, licence arrangement, hostname, address plan, DNS resolvers, time zone and membership requirements. Map each disk to its intended use and confirm adequate capacity for the role, servicing and growth.
Obtain authorised Windows Server 2022 media and verify that the hardware or virtual platform supports the guest. Keep signed storage or network drivers available where the platform requires them. Avoid general driver-download sites.
Use the VM console or physical management interface during installation. Verify access before touching the existing system. Remote Desktop cannot be assumed to work before networking, permissions and the listener have been configured.
Protect existing information through a verified recovery arrangement outside the installation target. If replacing a working server, specify the cutover and rollback boundary before the old system is overwritten.
Select the Core image and target
Boot the approved media, select regional and keyboard settings and start installation. Follow the authorised licensing process appropriate to the media and environment.
Choose the required Windows Server 2022 Standard or Datacenter entry without Desktop Experience. Review the selection carefully because the absence of those words is the key distinction for Core.
Use the clean-install path and select the intended destination. Do not delete unrelated partitions or data disks. Resolve a missing controller driver or ambiguous disk layout before proceeding, rather than choosing another visible disk as a test.
Allow setup to finish and restart from the installed system disk. If setup appears again, check the boot sequence before assuming installation has failed. Set the initial administrator password through the approved secure process.
Treat SConfig as the expected first interface
Windows Server 2022 Core normally opens SConfig after sign-in. The menu provides common configuration tasks, including networking, updates, membership and remote management. The lack of Explorer and a Start menu is expected.
To open SConfig from Windows PowerShell when needed, enter:
SConfigExit to PowerShell through the displayed menu when command-based checks are required. SConfig is designed for a local or Remote Desktop interactive session, not as an interactive menu inside a remote PowerShell connection.
Verify edition, installation type and resources
Get-CimInstance Win32_OperatingSystem |
    Select-Object Caption, Version, BuildNumber
Get-ItemProperty 'HKLM:\SOFTWARE\Microsoft\Windows NT\CurrentVersion' |
    Select-Object InstallationType
DISM /Online /Get-CurrentEdition
Expect the intended Windows Server 2022 edition and Server Core installation type. Record the build before and after approved patching. Resolve a wrong image before adding production roles or data.
Get-NetAdapter | Select-Object Name, InterfaceIndex, Status
Get-NetIPConfiguration
Get-Volume | Select-Object DriveLetter, HealthStatus, SizeRemaining
Compare adapters and volumes with the build sheet. Link status alone does not prove DNS or routing, and healthy storage alone does not show that the backup policy includes the intended data volume.
Create the management baseline
Apply the approved name, network and time settings through SConfig or the documented automation process. Use the provider’s actual address allocation. Do not replace an unfamiliar hosted route with an office-style subnet assumption.
If the server will join Active Directory, use resolvers that can locate the internal domain and confirm clock accuracy first. Join through an approved delegated process, then verify membership and effective policy after restart.
Enable only the required remote management path and restrict its source scope. Keep console access open until a fresh authorised connection from the management computer succeeds. A local WinRM response does not prove that a remote account can authenticate.
Service and test the intended role
Complete approved updates and restarts, confirm activation through the authorised arrangement and detach installation media when finished. Add only the roles and components justified by the design.
Run functional tests from a representative client. For example, a file service needs the intended share and permission behaviour, while DNS needs resolution tests through the planned resolver path. Role installation status is not the final acceptance criterion.
Verify monitoring, backup scope and the recovery procedure. Confirm another authorised operator can reach the console and perform the necessary diagnostic steps when normal domain or network access is unavailable.
Record the intended startup behaviour of the role’s services rather than starting every stopped service during acceptance. Many Windows services are demand started by design. Compare the relevant components with the build specification and diagnose a mismatch through its events and dependencies before changing service settings.
Recover without inventing a desktop conversion
If a vendor tool fails, return to its supported Core requirements before adding optional components. Do not download an unofficial shell or weaken security controls to imitate Desktop Experience.
If the wrong installation option was selected, rebuild through the approved recovery plan. Preserve configuration and new information first. A clean build has no automatic return to the previous server state.
Use SConfig configuration guidance and remoting validation. Microsoft’s Core overview describes the supported management model.
 Deploying Windows Server 2025 with a graphical desktop
Build Windows Server 2025 Desktop Experience through a controlled clean installation. Protect disks, select the correct image and licensing…
 A supported clean build of Windows Server 2019 Desktop Experience
Create a justified Windows Server 2019 graphical deployment with protected disks, correct media and verified servicing. Accept the…
 Selecting a Windows Server interface for the workload and support team
Choose the Windows Server interface around application support, maintenance tasks and recovery skills. Compare Core and Desktop Experience,…
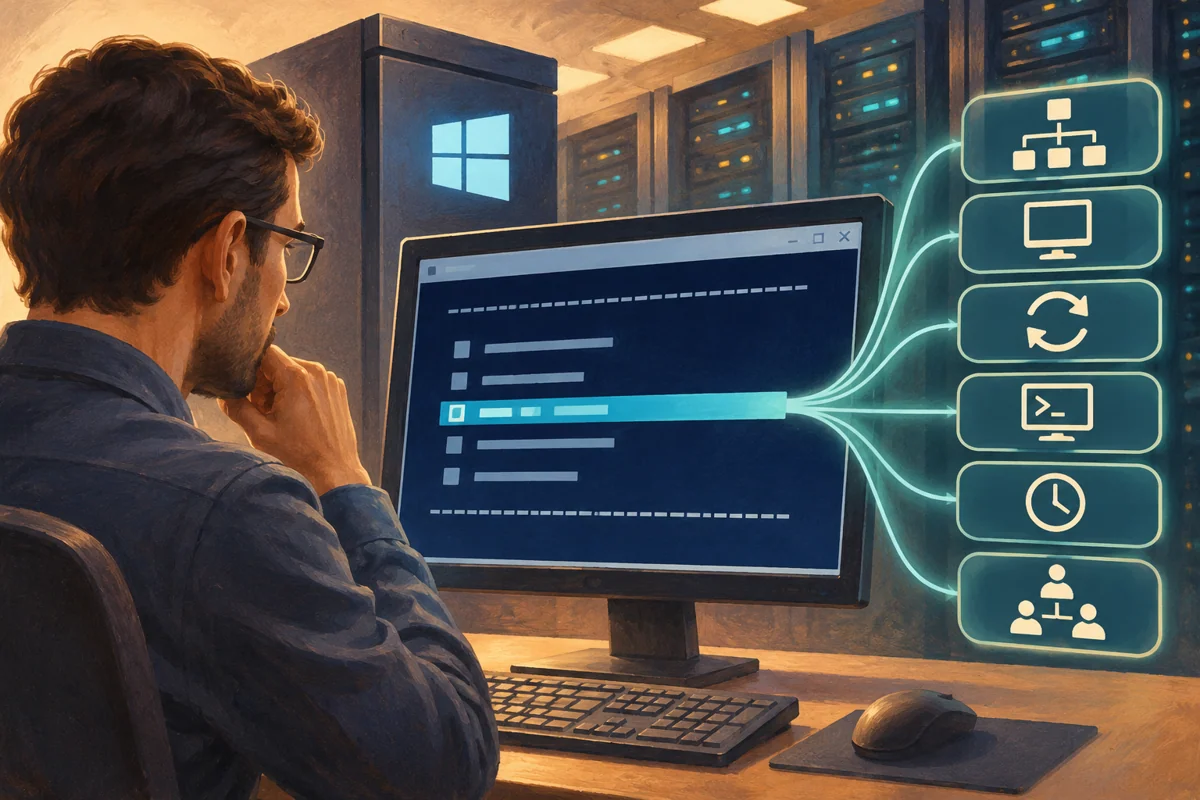 Establishing a Server Core baseline with the SConfig menu
Establish a coherent Server Core baseline using SConfig. Prepare identity, networking, membership, maintenance and access decisions, then…
 Planning and verifying a Windows Server hostname change
Treat a Windows Server rename as an identity change. Review dependencies, reserve the name, control the reboot and verify DNS, trust,…